
Last updated November 21, 2026
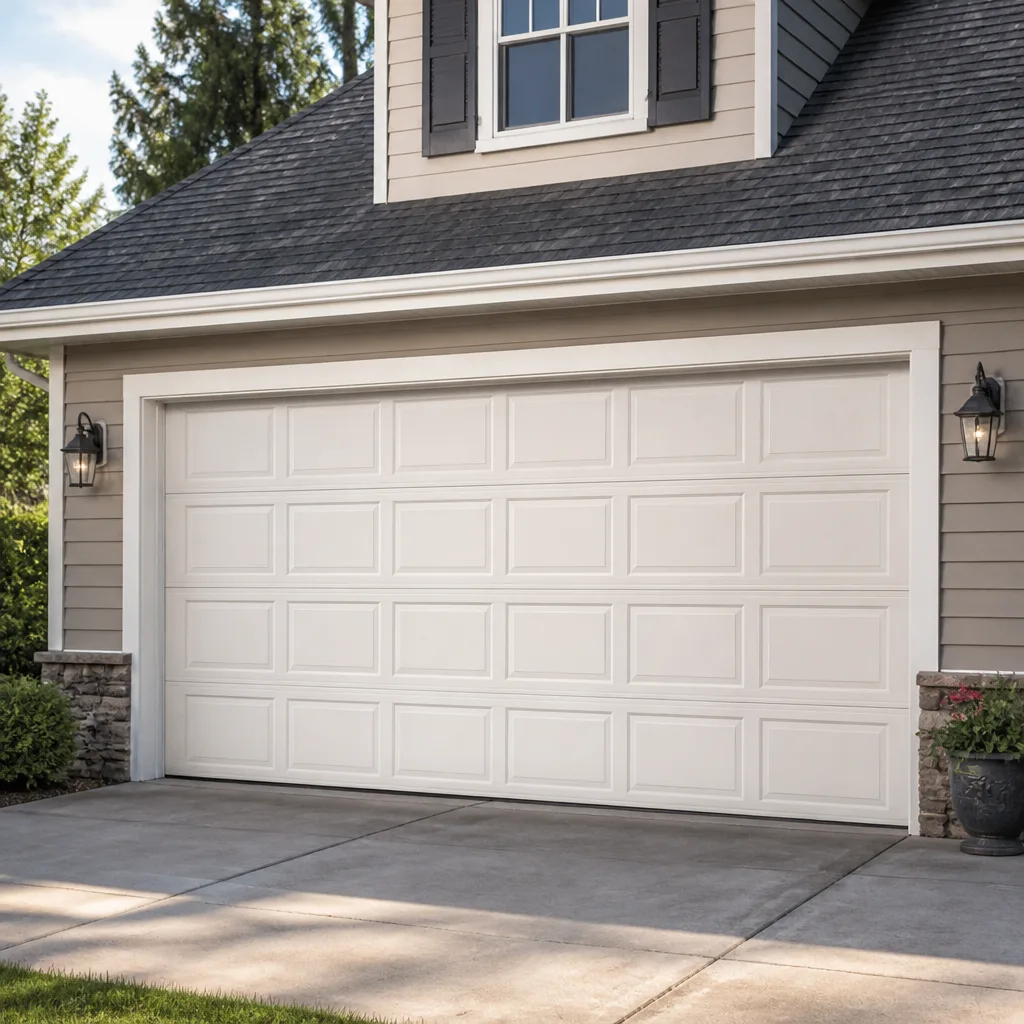 Raised-panel steel
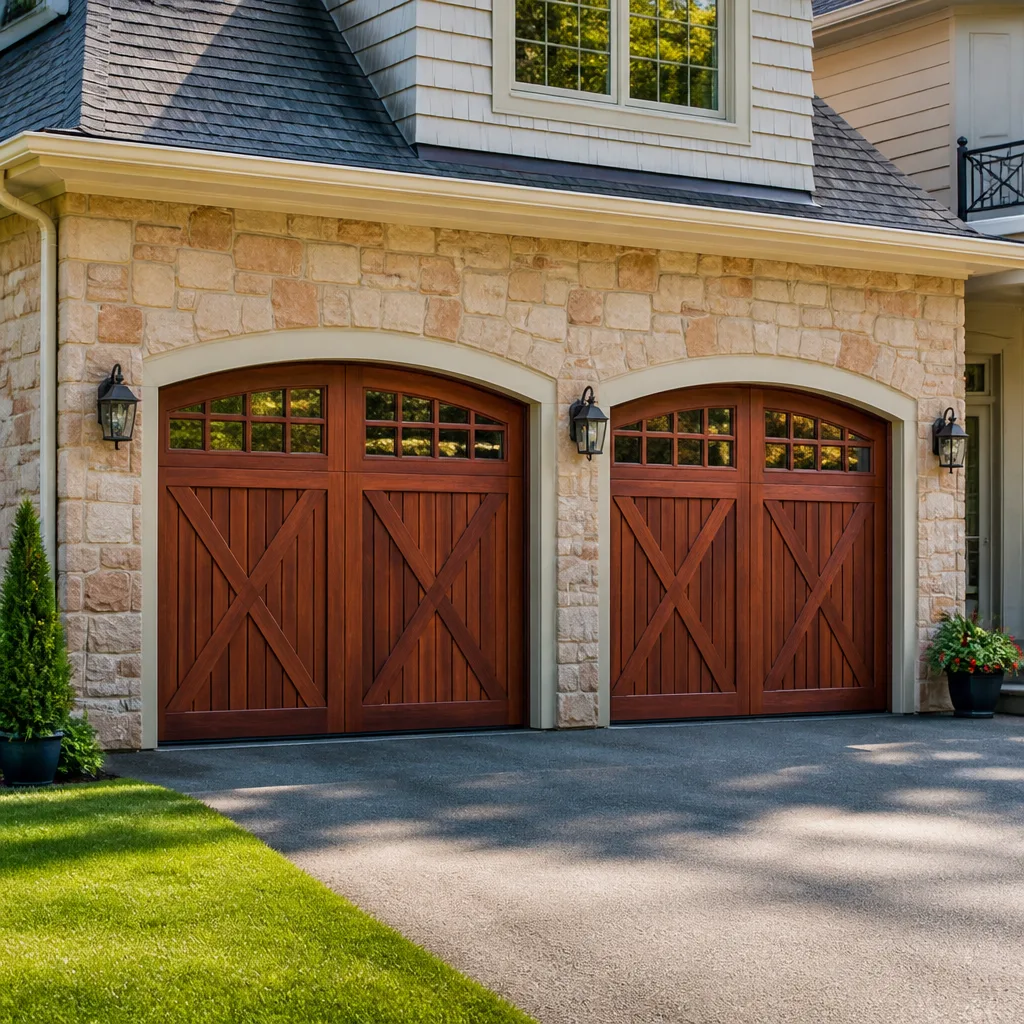 Carriage house
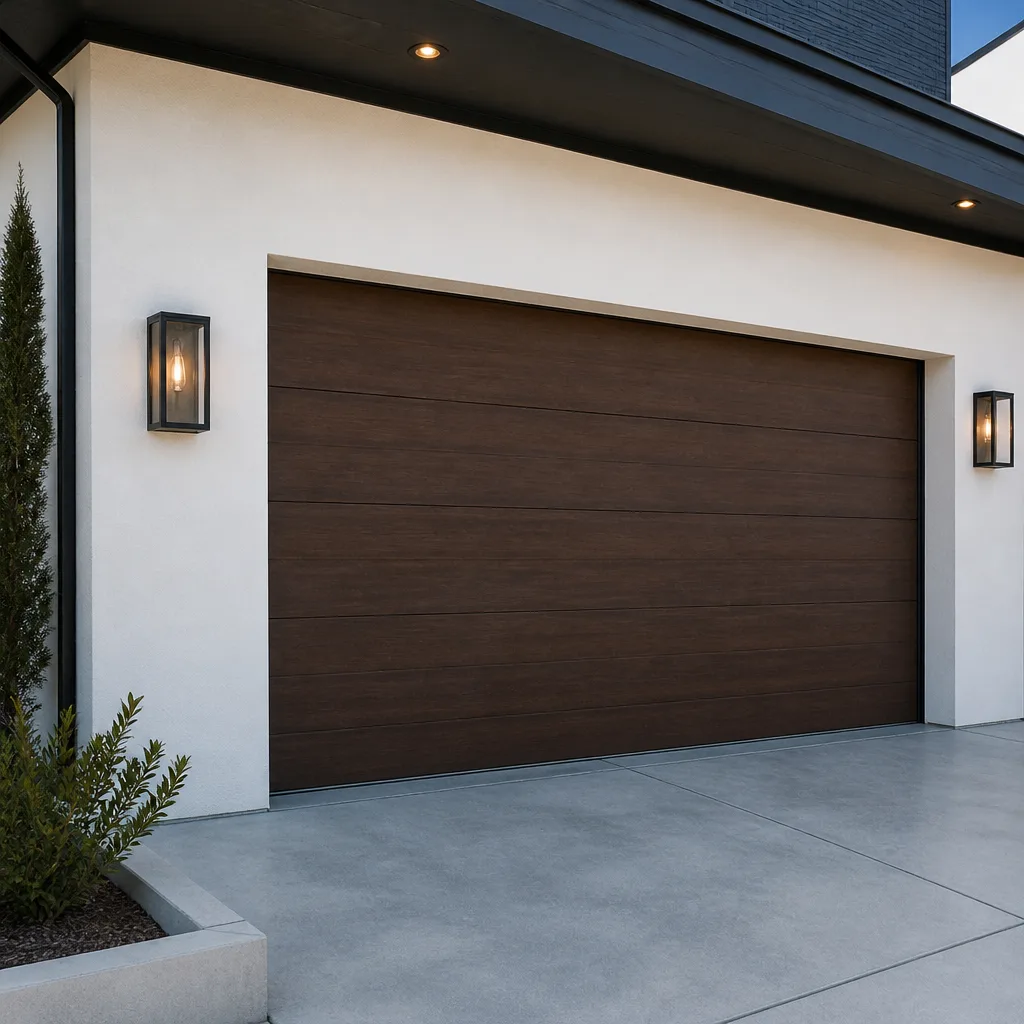 Modern flush
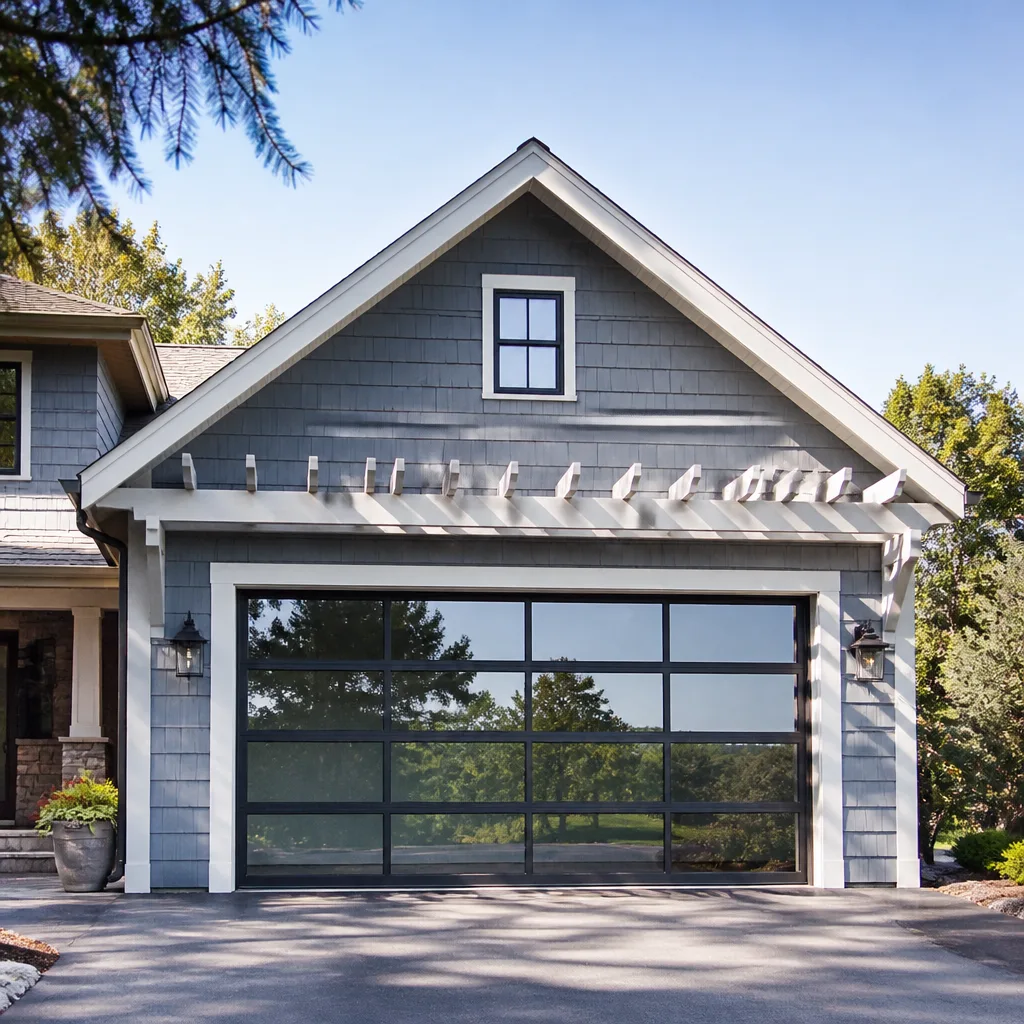 Full-view glass
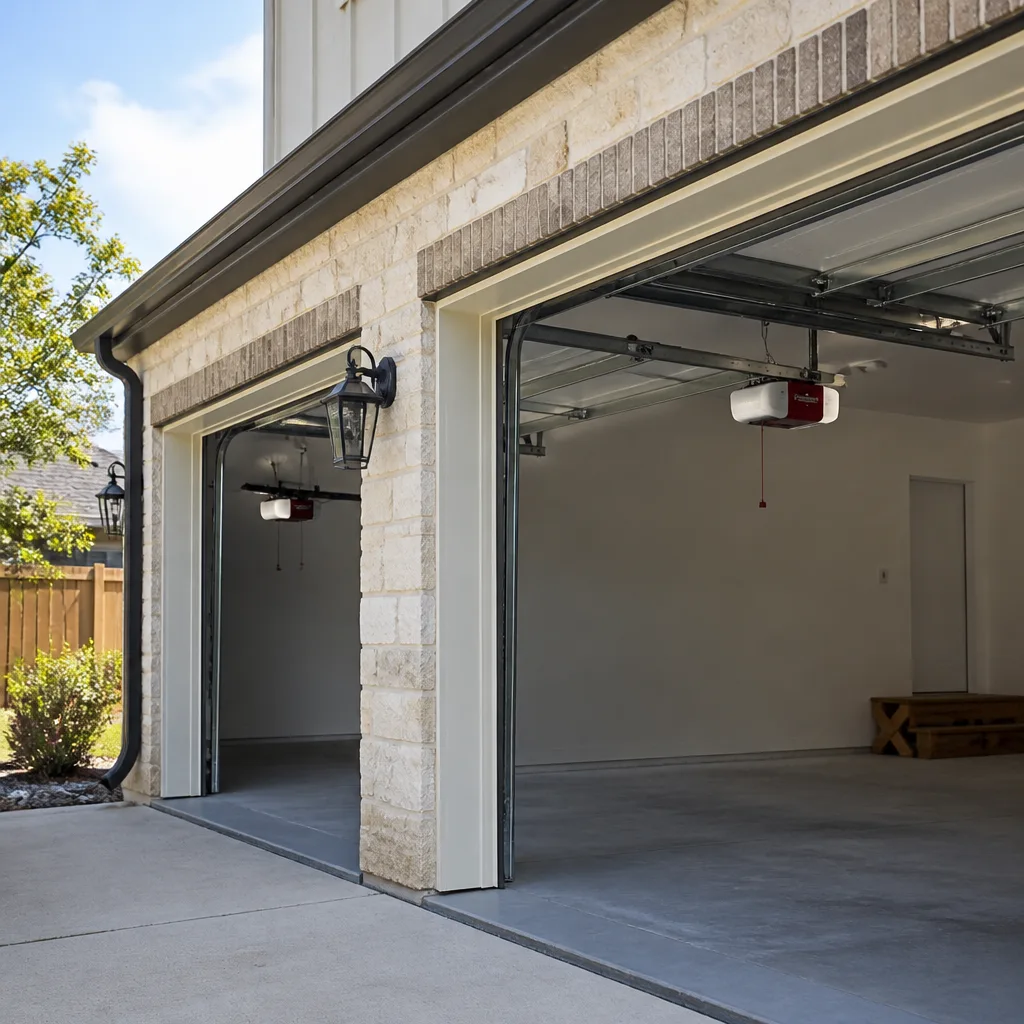 LiftMaster openers
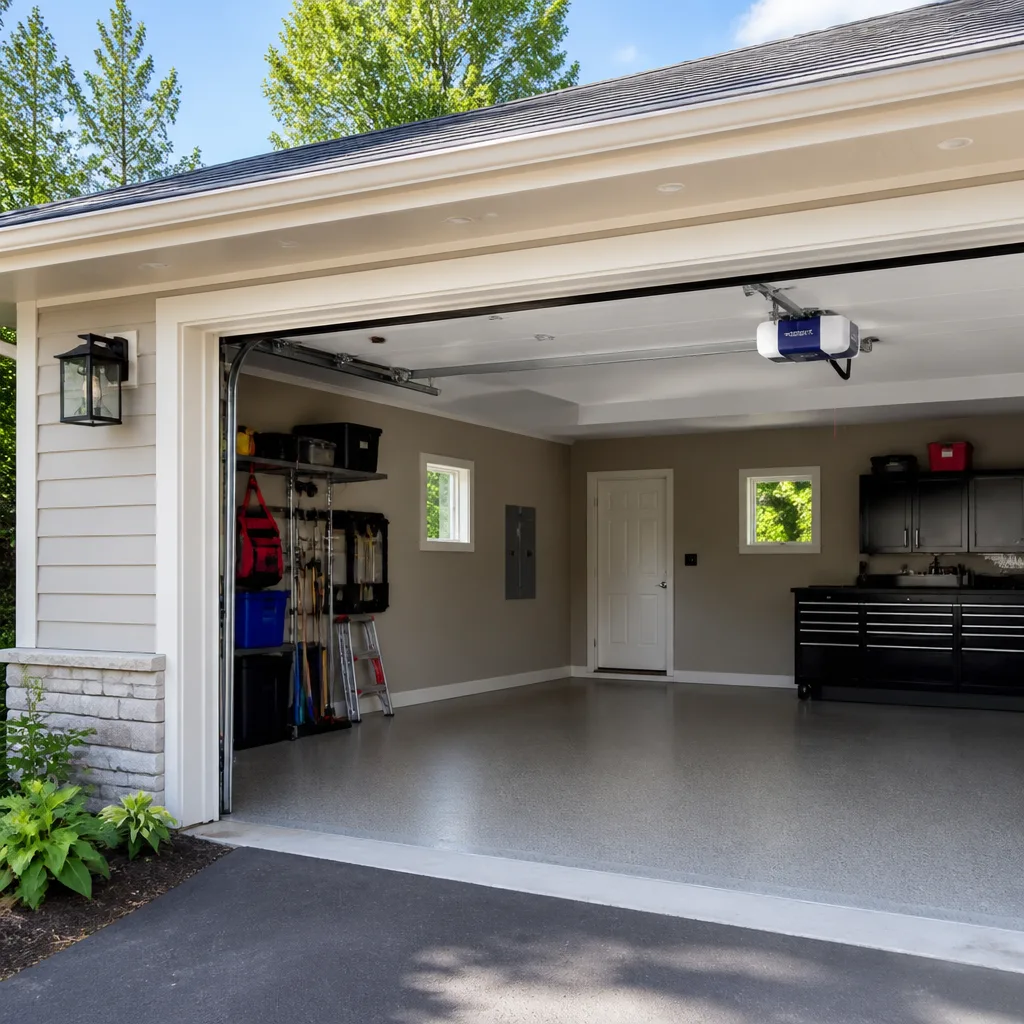 Chamberlain openers
Full 25-point door and opener safety check with every visit - springs, cables, rollers, tracks, and your LiftMaster or Chamberlain opener included
You get a price before we start. It does not change when the pro arrives.
Get your free estimateDIY vs Professional Garage Door: The Southlands Homeowner’s Decision Guide
Most garage door repairs don’t require a professional. A handful absolutely do, and confusing the two is where homeowners get hurt or end up paying twice. The problem is that “DIY vs professional” gets framed as a binary choice when it’s really a spectrum. Some tasks reward a Saturday morning and a ladder. Others put a spring wound to store serious torque a few feet from your face. This guide sorts the work into three honest buckets – safe, cautious, and professional-only – with the reasoning behind each. If you live in Southlands, the local climate adds a twist to several of these calls.
Quick Answer
Lubrication, safety sensor alignment, remote reprogramming, and visual track inspection are genuinely fine for homeowners to handle. Torsion spring work, cable replacement, and anything involving a winding bar belong to trained technicians without exception. Everything else lands in a middle zone where research and caution decide. In Southlands, cold-season hardware behavior makes the middle zone narrower than you might expect.
Styles & brands we work with
- Raised-panel steel
- Carriage house
- Modern flush
- Full-view glass
- LiftMaster openers
- Chamberlain openers
Table of Contents
- Why the DIY Question Isn’t Actually Binary
- Task-by-Task Classification: What You Can Do vs. What You Can’t
- Torsion vs. Extension Springs: Why the Risk Profiles Are Completely Different
- The Hidden Cost of DIY Opener Installation in Southlands
- When a DIY Repair Creates a Bigger Bill Later
- What to Do Before You Call a Specialist
- How Southlands Weather Changes the DIY Calculus
- How to Choose a Garage Door Specialist
Why the DIY Question Isn’t Actually Binary
The garage door is the largest moving object in most homes, and it operates under spring tension that can store enough energy to seriously injure a person. That’s the fact that drives every repair decision, and it’s also the fact that gets glossed over when the question is framed as “can I do this myself?” There are really three questions worth asking: Is this task dangerous? Is it likely to work the first time without specialist tools? And if it fails, does the failure escalate the cost of the professional repair?
For some jobs, the answer to all three is “no.” A stiff roller, a misaligned safety sensor, or a remote that won’t learn a new code are low-risk, forgiving tasks. For others, the answer to the first question is “yes” and that ends the discussion regardless of skill level. A torsion spring under load doesn’t care how handy you are.
Here’s what we’ve learned talking with Southlands homeowners who call after attempting repairs: the failures aren’t usually catastrophic. They’re subtle. A door adjusted wrong for weeks, a panel bent by a track that was nudged out of alignment, an opener calibrated so the auto-reverse triggers in cold weather and doesn’t trigger in summer.
It helps to think about which tasks belong to the homeowner and which belong to a trained technician in this trade. We specialize in garage doors – not general contracting – which means the specialist-only category is deeper than a general handyman would suggest. That’s not a sales pitch; it’s an honest reflection of how much stored energy and precision is built into the system.
The spectrum model also matters for cost. Every safe task you handle yourself is a task the technician doesn’t bill for. Every cautious task that goes wrong makes the eventual repair more expensive. The guide that follows is designed to help you sort this correctly, so you spend on what matters and save on what doesn’t.
Task-by-Task Classification: What You Can Do vs. What You Can’t
Below is our honest three-bucket breakdown. We’ve avoided vague warnings where specificity is possible, because a homeowner deserves to know exactly why a task is classified a certain way. Read this section as the heart of the guide.
Bucket 1: Safe for Homeowners
- Lubrication – A silicone-based or white lithium lubricant on hinges, rollers, and the torsion bar bushings (not the springs) reduces friction and extends hardware life. Every few months is plenty.
- Safety sensor alignment – The two small eyes at the bottom of the tracks should line up and light up solidly. A bumped sensor is one of the most common reasons a door won’t close.
- Remote and keypad reprogramming – This is a manual-and-patience task. LiftMaster, Chamberlain, and Genie openers each have slightly different pairing sequences, and once you’ve found the right one, it’s five minutes.
- Visual inspection – Look at the springs for gaps, the cables for fraying, the rollers for flat spots, and the door for balance (lift it halfway and let go – it should stay put).
- Wiping down tracks with a clean rag – No lubricant needed, just debris removal. Lubricating tracks is a mistake, not a maintenance task.
- Replacing a battery in the safety sensor or remote – Simple, and the source of many “my door won’t work” calls.
Bucket 2: Requires Caution and Research
- Replacing rollers – Doable with a proper winding technique and a door held in the fully open position, but a door that slips while you’re working can bend a panel. Know where the door is supported before you start.
- Adjusting opener travel and force limits – This is the DIY task most likely to cause a downstream problem, and we’ll cover why in the Southlands-specific section below.
- Replacing a bottom weather seal – Straightforward once you know your track profile, which varies by door brand. Measuring twice matters here.
- Tightening loose hinges and brackets – Usually fine, but if a hinge is loose because the metal it bolts into has deformed, the underlying issue needs a technician.
- Straightening a mildly bent track – If the door is detaching from the frame, stop and call. If it’s a small dinger at the bottom section, careful work with a rubber mallet can sometimes fix it.
Bucket 3: Professionals Only
- Torsion spring replacement – This is the single most dangerous DIY repair on the list. We’ll expand on why below.
- Extension spring replacement – Still under tension, still capable of releasing with force. Not as dangerous as torsion, but not a homeowner task either.
- Cable replacement – Cables are under extreme tension and are connected to the spring system. A released cable can lash with enough speed to break bone.
- Bottom bracket removal – The bottom bracket anchors the cable under tension. Don’t touch it.
- Panel replacement on a wound-spring door – Involves releasing tension, which is spring work.
- Full opener replacement – Not just the electrical side; the physical mounting and tension calibration determine whether the system is safe or not.
If you’re unsure which bucket a task falls into, call and ask. Our team can usually answer in a minute over the phone.
What Can You Do Before Calling a Specialist to Save Time and Cost?
Several small steps cut down on the diagnosis portion of a service call, which is often the part of the bill that feels least valuable to a homeowner. None of these are risky, and none replace a professional – but they make the visit faster and more targeted.
- Write down exactly what the door does and when. Does it stop on the way down but not up? Reverse immediately after touching the floor? Only fail below 40°F? This information eliminates half the diagnostic questions.
- Test the safety sensor manually. Wave an object in front of it while the door is closing. If the door doesn’t reverse, the sensor may need alignment or replacement – note which one.
- Try both wall switch and remote. If one works and the other doesn’t, the issue is likely the remote or the logic board, not the motor.
- Look at the spring for gaps. A spring with a visible gap is broken, regardless of what the door is doing. Save the technician the diagnosis.
- Check the manual override pull. If it’s stuck or won’t re-engage, note it – the technician will want to know before they start.
- Photograph the opener label. Model number matters for parts, and having it ready saves a call-back.
This middle path is genuinely useful. It’s not “do it yourself” and it’s not “sit and wait.” It’s gathering the information that makes a professional’s visit efficient.
Torsion vs. Extension Springs: Why the Risk Profiles Are Completely Different
Most DIY garage door videos conflate these two spring types. They share a name and a function – counterbalancing the door – but the injury profiles aren’t close. Understanding the difference is the single most important piece of knowledge in this guide.
How Much Stored Energy Is in a Torsion Spring?
A torsion spring is wound to store a significant amount of torque – often described in foot-pounds that are dangerous to a human body with a single misstep. When a torsion spring releases under load, the winding bars or spring end can spin with enough force to break a wrist or arm. This happens to experienced technicians when safety protocols lapse. It’s not a matter of being careful; it’s a matter of the physics.
Torsion springs sit horizontally above the door and use torque to lift. They’re wound with bars in a specific sequence, and if the bars are pulled at the wrong moment, the spring unwinds instantly. There is no “slow release” option. This is why replacing a torsion spring is not a homeowner task even for someone with genuine mechanical skill.
How Are Extension Springs Different?
Extension springs stretch alongside the tracks rather than hold torque overhead. They’re under tension too, but when they fail they typically extend rather than spin. This is a meaningfully different failure mode, and to be clear, still not safe for homeowners to replace – extension springs have killed people, though less frequently than torsion springs.
The conflation happens because a general tutorial will say “garage door spring replacement” and then describe an extension spring process while a homeowner’s door has torsion springs. The steps are completely different. If you don’t know which type you have, look above the door: horizontal bar with coiled springs on it means torsion. Stretched springs running parallel to the horizontal tracks means extension.
What Does a Torsion Spring Failure Actually Sound Like?
It’s usually a sharp crack, and the door won’t lift – the opener motor runs but the door stays put, or the door sags unevenly. That’s the moment to call a professional. Do not try to open the door manually. Do not pull the manual release. Do not attempt to inspect the spring up close. Call for professional spring replacement and stay off the ladder.
In Southlands, we hear these calls year-round, but the volume picks up in the first cold snap. Cold reduces spring tolerance to stress, and a spring that’s already on the edge often finishes its life the first week temperatures dip below freezing.
The Hidden Cost of DIY Opener Installation in Southlands
Opener installation looks straightforward. Mount the rail, hang the motor, wire it up, program the remotes. What the videos don’t emphasize is the calibration step – and that’s the part that determines whether your door is safe.
Two settings matter most:
- Travel limit – How far the door goes up and down before stopping. If it’s too short, the door never fully seals; too long, and the opener strains against the frame.
- Force limit – How much resistance the opener allows before assuming there’s an obstruction and reversing. This is the safety setting.
Set the force limit too high and the door won’t reverse on an obstruction. Set it too low and the door reverses constantly – which trains a homeowner to override features that save lives.
See the difference
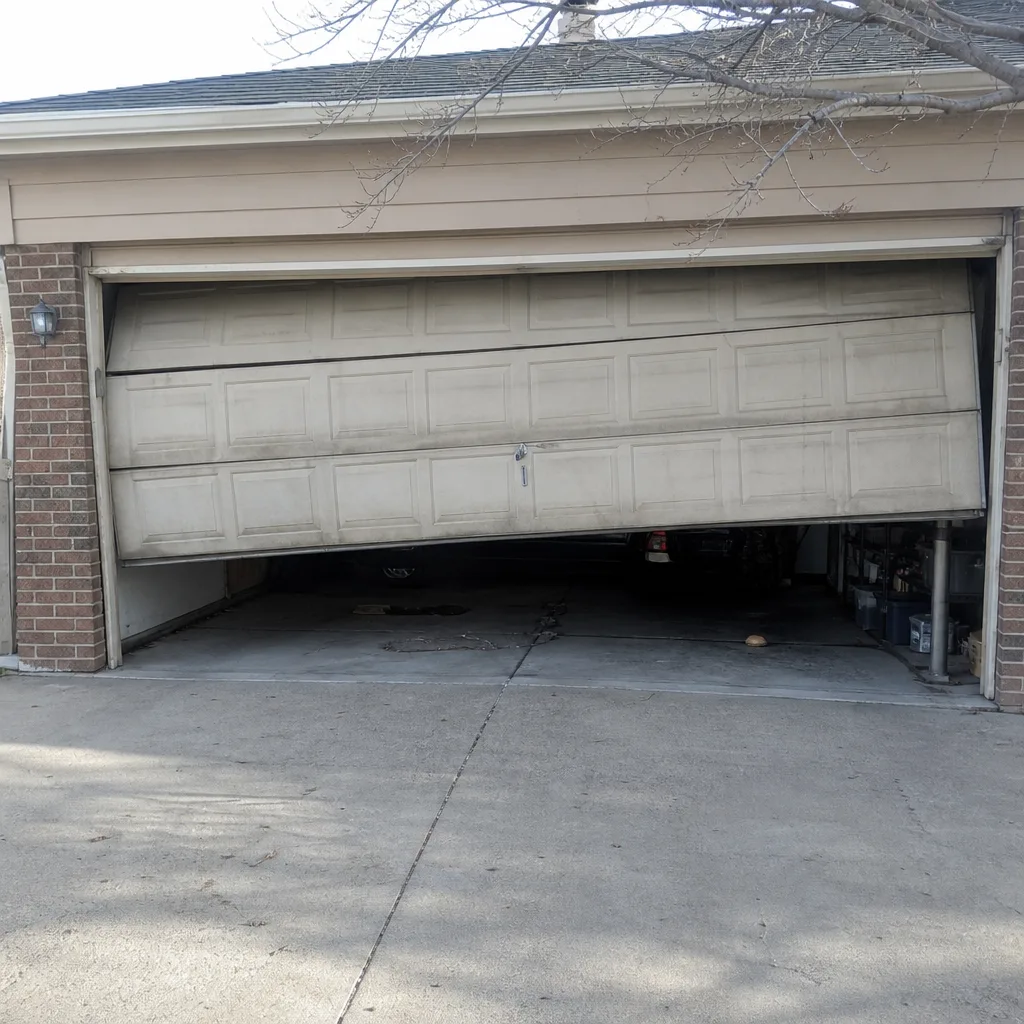 Before
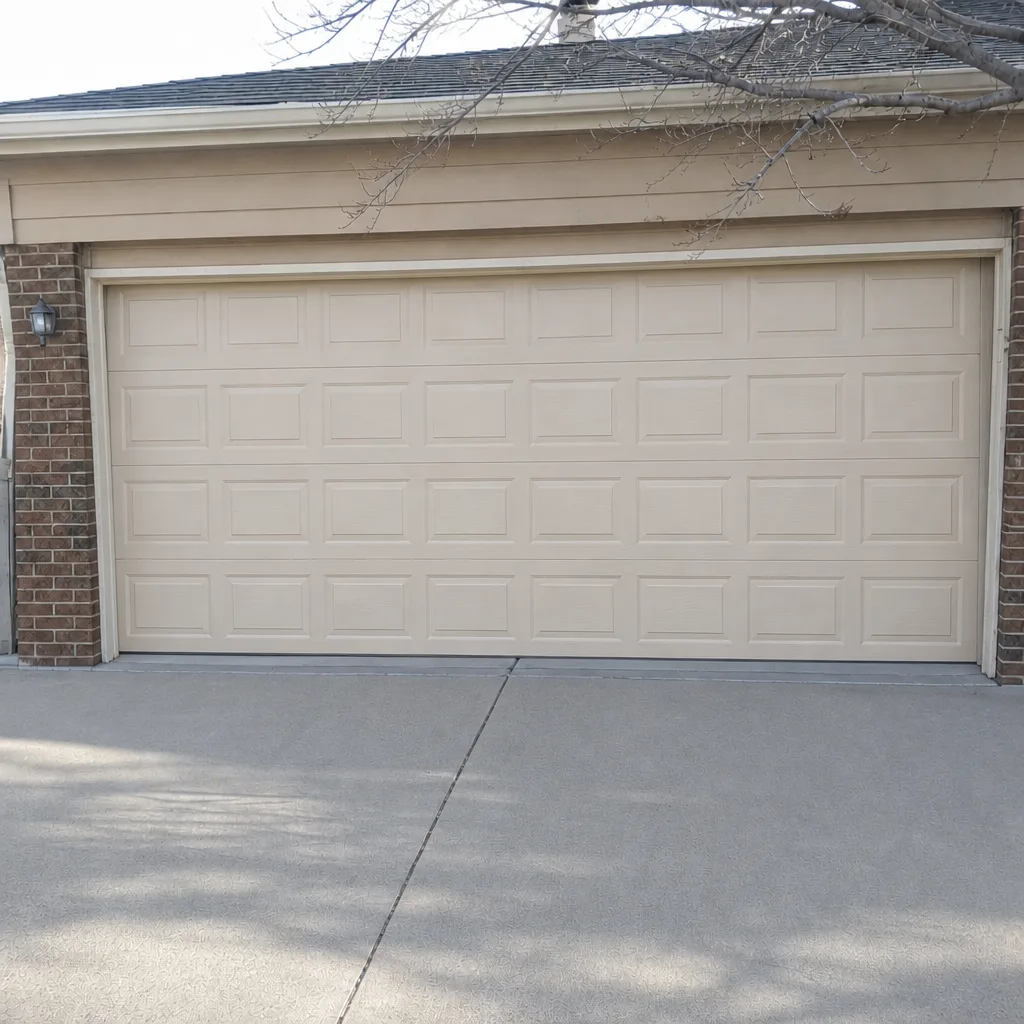 After
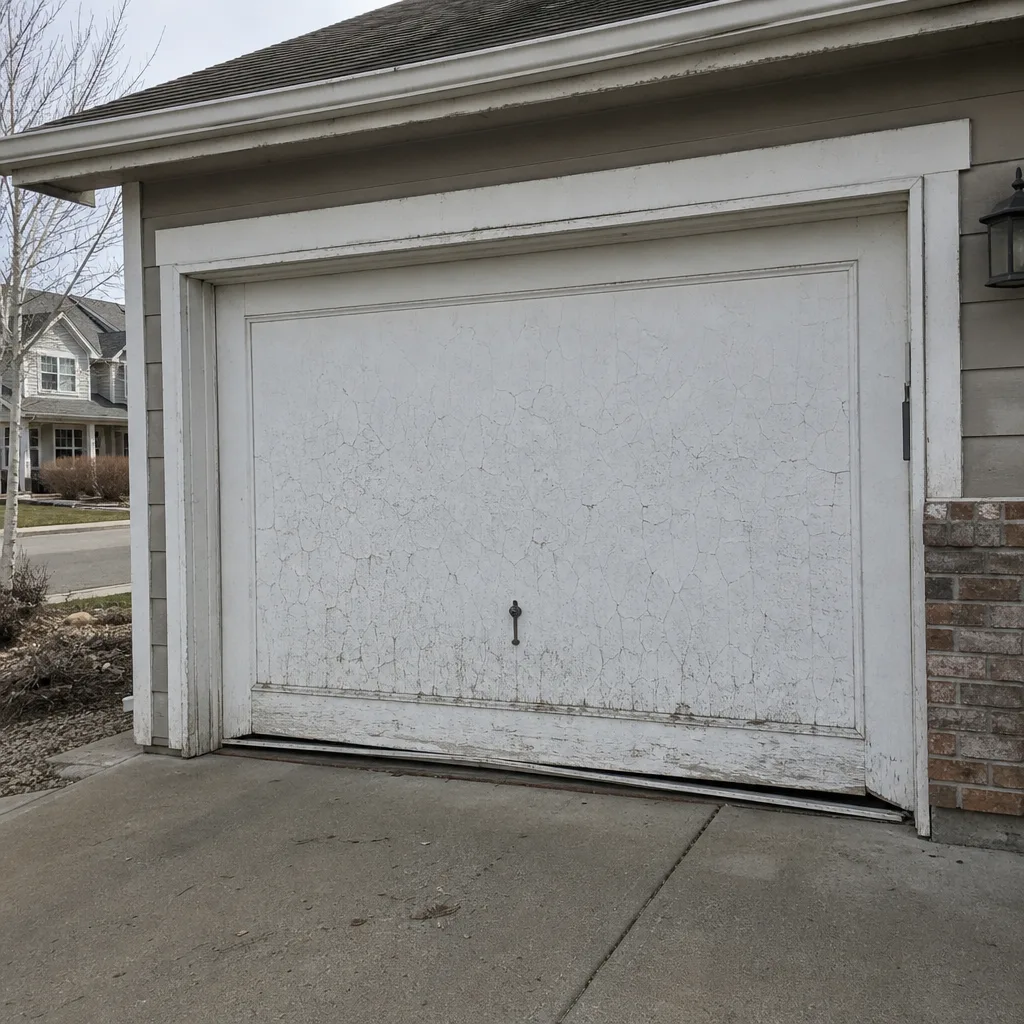 Before
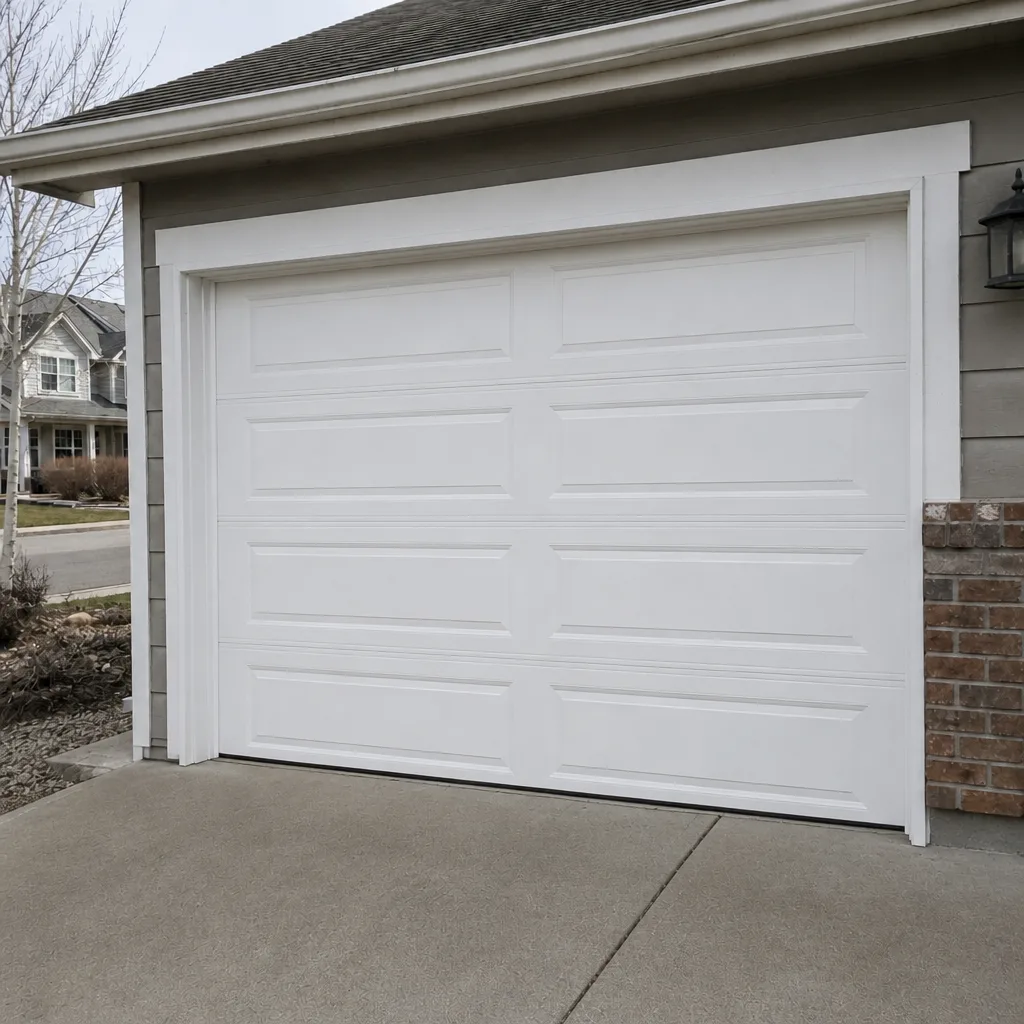 After
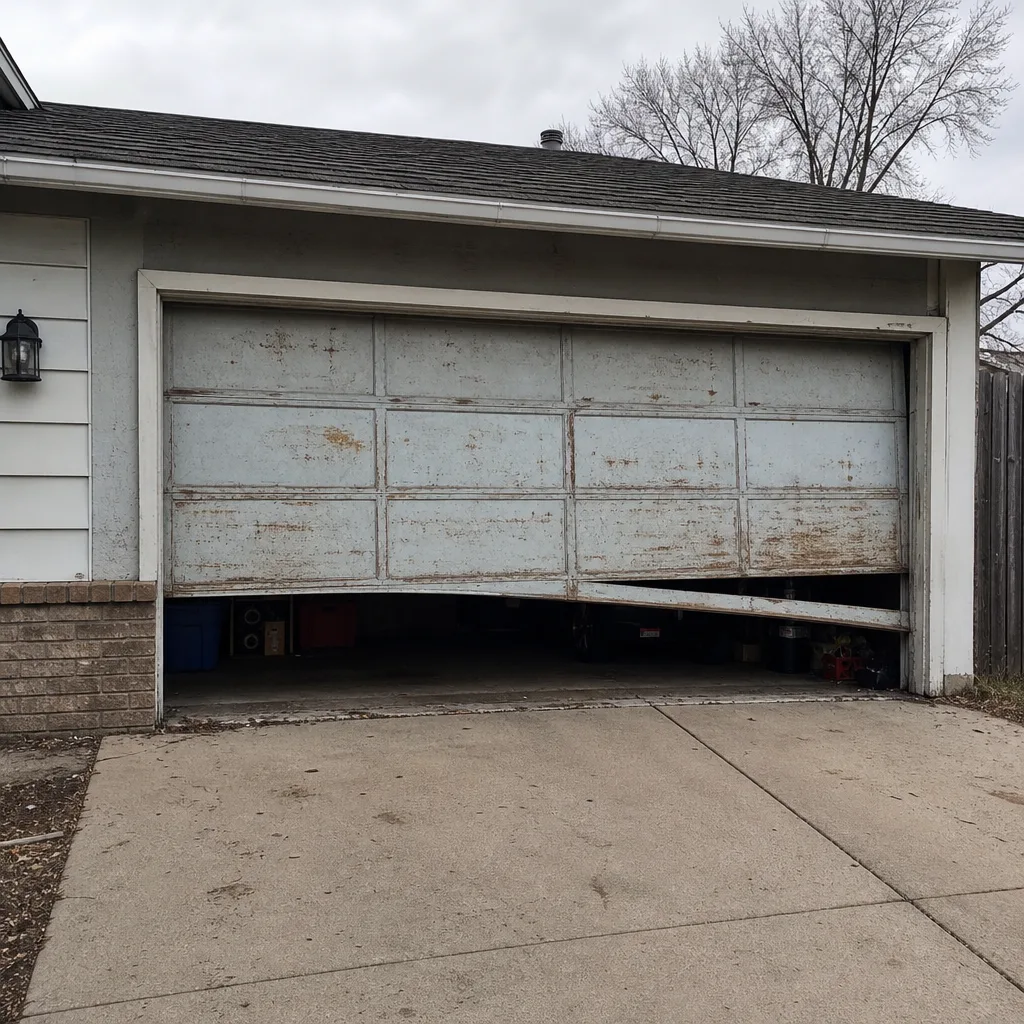 Before
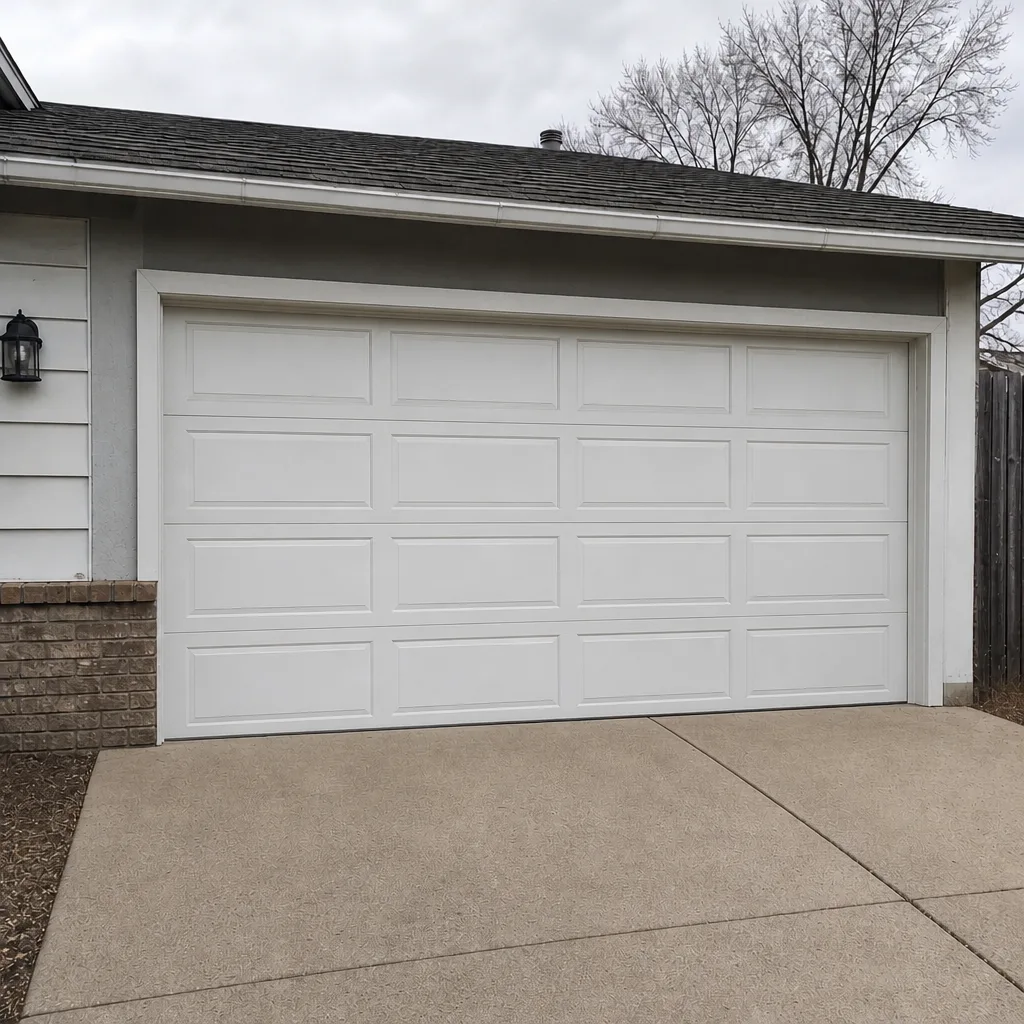 After
Why Does Southlands Cold Worsen the Opener Force Problem?
Garage door hardware stiffens in the cold. Lubricant thickens, tracks contract slightly, springs stiffen. An opener calibrated to barely clear the force threshold in warm weather will reverse constantly at 20°F. The homeowner’s instinct is to crank the force limit – and that’s exactly the wrong move. The door isn’t heavier; it’s tighter. Raising the force threshold masks the problem and disables a safety feature.
This is the hidden cost of DIY opener installation in Southlands. The system operates fine for eight months and then creates a safety gap the homeowner doesn’t see. That gap is a liability exposure not worth the money saved. We install and repair LiftMaster, Chamberlain, and Genie openers regularly, and the calibration step takes more attention than most homeowners would give it on a weekend.
Opener installation isn’t a task we’d put in the professionals-only bucket for safety reasons alone, but it’s close. If you’re going to install one yourself, at minimum pay for a professional inspection of the calibration. Or just have us do it – we do garage door opener repair and installation in Southlands with parts on hand.
When a DIY Repair Creates a Bigger Bill Later
A dozen specific scenarios show how a small DIY attempt becomes a larger professional job. None of these are hypothetical – they’re patterns we see. The estimates below are typical for Southlands-market pricing, but the final number on any job is set by the written estimate after we’ve seen it.
- Force limit raised to mask a stiff roller. The roller was a $5 fix. The door now strains the opener motor, and after a few months the opener’s logic board or gear assembly fails – a repair in the $250 – $450 range. The original roller replacement would have been $40 – $80.
- Track nudged out of alignment to eliminate a scrape. The scrape was a worn roller ($8 part). The nudge deforms the vertical track section, which then forces the door to ride unevenly and accelerates panel wear. Track replacement typically runs $180 – $320 per side.
- Roller replacement without supporting the door. The door slips during the job and bends a bottom panel. Panel replacement runs $200 – $400; the original roller job was $60.
- Self-installed opener with miscalibrated travel limit. The door doesn’t seal fully, cold air and moisture intrude, and the bottom seal takes on water damage. Seal replacement plus weatherstripping runs $80 – $180, and the door still needs to be reset.
- Spring “adjustment” attempt. The homeowner tries to tighten a slightly-slack spring and, when it slips, the cable unspools and tangles. Cable replacement plus spring replacement on that side runs $180 – $400 total.
The pattern is consistent. DIY saves on the front end and often costs more when the escalations land. If you’re going to repair something and you’re not sure, that’s a signal. Call for garage door repair before you reach for the wrench. Our written estimate sets the price and you agree to it before any work starts.
What to Do Before You Call a Specialist to Reduce Service Call Time and Cost
There’s a productive middle path between full DIY and passive reliance on a service call. Several small steps cut down diagnosis time and let us bring the right parts the first visit. None of these are risky, and none replace a professional – but together they can meaningfully reduce the cost of a service call.
- Write down exactly what the door does and when. Does it stop on the way down but not up? Reverse immediately after touching the floor? Only fail when temperatures drop below 40°F? That information eliminates half the diagnostic questions.
- Test the safety sensor manually. Wave an object in front of it while the door is closing. If the door doesn’t reverse, the sensor may need alignment or replacement – note which one it is.
- Try both wall switch and remote. If one works and the other doesn’t, the issue is likely the remote or the logic board, not the motor.
- Look at the spring for gaps. A spring with a visible gap is broken, regardless of what the door is doing. Save the diagnosis step.
- Check the manual override pull. If it’s stuck or won’t re-engage, note that – we want to know before we start.
- Photograph the opener label. Model number matters for parts, and having it ready saves a call-back.
This middle path is genuinely useful. It’s not “do it yourself” and it’s not “sit and wait.” It’s gathering the information that lets a professional arrive prepared and finish faster. In our experience, homeowners who’ve done this legwork get through the visit in significantly less time than those who haven’t – and the parts we need are usually on hand because we stock components directly.
How Southlands Weather Changes the DIY Calculus
The general advice about garage door maintenance is written for a neutral climate. Southlands isn’t neutral. Winter temperatures reach stretches well below freezing, summer sun heats a west-facing door to uncomfortable temperatures, and the swing between the two cycles hardware through constant expansion and contraction. That has two consequences for a homeowner deciding whether to DIY.
Cold-Season Hardware Behavior
Lubrication that works fine in warmer months becomes tacky in the cold and attracts grime. The spring steel becomes more brittle – a spring that survived a hundred thousand cycles during the summer is more likely to fail in the first deep cold snap. Cables that looked fine in October may show strain in January. This is why a fall lubrication and inspection is one of the few maintenance tasks worth putting on the calendar here in Southlands. Cold also makes a torsion spring harder to wind – another reason it’s a professional job in this climate.
Sun Exposure and Panel Wear
Afternoon sun on a west-facing door heats the panels unevenly. Over years, this can cause a slight warp that changes how the door travels in its tracks, and eventually creates a friction point a homeowner might mistake for a track problem. If the door starts scraping in the afternoon but not in the morning, sun exposure is often the culprit. It’s worth mentioning when you call, because it changes the diagnosis.
Wind and Seal Integrity
Southlands gets wind events that push against the bottom seal. If your seal is worn, wind enters and drives cold air and grit under the door. Replacing the bottom seal is a Bucket 2 task – doable with the right measurement and some patience – and doing it before winter prevents a lot of small problems later.
How to Choose a Garage Door Specialist
When you’ve decided a task falls in the professional bucket, the next question is who to call. A few signals separate genuine specialists from general handymen who’ll take the job.
Do they work on your door and opener brands? Most doors and openers use brand-specific parts, and a technician who knows the wiring on a LiftMaster doesn’t guess at the parts on a Genie. We work on virtually every major brand – LiftMaster, Chamberlain, Genie, Clopay, Amarr, Wayne Dalton, Craftsman, and Raynor – so there’s rarely brand guesswork.
Do they stock parts? A technician who has to order a spring or a hinge before scheduling the repair stretches the timeline. Parts supply built into the business means faster turnaround. We source garage door components directly for that reason.
Do they name spring work as a core service? Every garage door company says they fix springs. Fewer describe spring repair as a primary specialty. It matters because spring work is where training and protocol show up most clearly. If a company has technicians with up to 8 years of experience on spring replacements, they’ve seen the failure modes that matter.
Do they give a written estimate before work starts? You should know the price in writing before the wrench comes out. That’s not a sales nicety; it’s a basic business standard. Ask.
Are they licensed and insured as their state requires? Ask before the appointment. The vetted local professionals we connect you with are licensed and insured per their state requirements.
When you’re ready for a full replacement rather than a repair, that’s a different conversation – garage door installation is a project plan, not a repair visit. We’ll measure, order, and schedule.
Common Mistakes to Avoid
- Attempting a torsion spring replacement from a video. The video doesn’t show the physics under a slip. A torsion spring can release with enough force to break bone, and the technique videos show assumes the spring isn’t already under excessive tension from cold.
- Lubricating the tracks. Tracks need to be clean, not slick. Lubricant on tracks lets rollers slide instead of roll, which wears both parts faster. Clean and dry is correct.
- Raising the opener’s force limit to stop a constant reversal. The reversal is a safety feature telling you something is off. Raising the limit doesn’t fix the problem – it disables the protection. In Southlands winters this mistake is common because cold makes stiff doors reverse.
- Ignoring a spring gap for “just a few more weeks.” A broken spring transfers all the door’s weight to the opener motor. The motor isn’t designed for that, and a small spring job becomes a spring-plus-opener job.
- Attempting cable replacement without understanding tension. Cables are under continuous tension from the spring system. There is no safe way to release a cable without first releasing the spring tension, which is a professional procedure.
- Replacing panels without checking the underlying cause. If a panel is damaged, the reason it was damaged (an out-of-alignment track, a failed roller, a wind event) usually still exists. New panels fail the same way without addressing the root.
- Buying discount opener parts online from brand-mismatched listings. Opener logic boards and gear assemblies look similar across years and models but aren’t interchangeable. Getting the exact model number from the opener label is worth the effort.
When to Call a Professional
Call when the task involves any torsion spring, extension spring, cable, or bottom bracket – no exceptions, regardless of how comfortable you are with tools. Call when the door has stopped lifting entirely. Call when an opener reverses constantly after a force adjustment, or when the door has started to hang unevenly. Call when a panel is damaged and the door is wound with torsion springs. Call when you’ve attempted a repair and it made something else worse.
Garage Door Repair Southlands offers free estimates in Southlands – call (844) 569-7232. We answer 24/7. Fast dispatch, 7am-7pm, Sunday through Friday. Free written estimates and upfront pricing on every job. Our technicians have up to 8 years of experience, they work on virtually every major brand, and parts on hand mean we’re not waiting on a warehouse across the country.
Frequently Asked Questions
No. Torsion spring replacement is the single most dangerous DIY task on any garage door, because the spring stores enough torque to seriously injure a person during a moment’s slip, and cold weather makes the spring more likely to bind. This is one of the categories we don’t put qualified homeowners in – a trained technician with the right winding bars and protocol is required. Call (844) 569-7232 for spring repair and we’ll give you a written estimate before work starts.
Typical spring repair ranges in the Southlands market run $180 – $340 for a single torsion spring, with a matched pair usually replaced together for roughly twice that range. The written estimate after inspection is the final price, and you agree to it before any work starts. Call (844) 569-7232 for an exact quote – estimates are free.
Often yes. Start with the safety sensor – it may be blocked, misaligned, or have a dead battery, and both align and battery swap are safe homeowner tasks. If the sensor is fine, the travel limit setting on the opener needs adjustment, which is a cautious task and worth reading the manual for. If adjustment doesn’t resolve it, stop and call (844) 569-7232.
Not reliably. The hardware cost is lower, but the force and travel calibration is what makes the opener safe, and a miscalibration in Southlands winters is easy to miss. The cost of a miscalibrated installation usually shows up as a later repair – force limit raised, motor straining, logic board failed. The written estimate from a professional includes calibration that most DIY installs skip.
Yes. Measure and photograph the opener model number, note where and when the door fails, test the safety sensor manually, and look for a spring gap. All safe, all helpful. It doesn’t replace a professional but it speeds the visit up significantly. If you’re unsure how to check something, call and ask – we can usually answer in a minute.
No, not without your approval. We give a written estimate first based on what you describe, then confirm or adjust on inspection, and you approve the price before any work begins. The estimate is free. We don’t surprise you with a bigger invoice after the job is done. Call (844) 569-7232 for details.
The Bottom Line
The DIY vs professional question on garage doors has a clear answer once you separate spring work and cable work from everything else. Springs, cables, bottom brackets, and anything wound with torsion are professional-only, no exceptions. Sensors, remotes, lubrication, visual inspection, and seal replacement are yours to handle. Rollers, travel limits, and minor track adjustments sit in a cautious middle where research and honest self-assessment decide.
The rest of the decision is really about preventing the downstream problem – the raised force limit that breaks a motor, the DIY install that masks a safety gap. If you’re unsure where a task lands, call (844) 569-7232. We answer 24/7. Fast dispatch, 7am-7pm, Sunday through Friday. We work on LiftMaster, Chamberlain, Genie, Clopay, Amarr, Wayne Dalton, Craftsman, and Raynor – parts in stock, free estimates, and a written price you agree to before we start. For more on how we approach the specialist side of this trade, see garage door repair Southlands. Garage doors are all we do, and we do them right.
Written by the team at Garage Door Repair Southlands.