
Last updated November 21, 2026
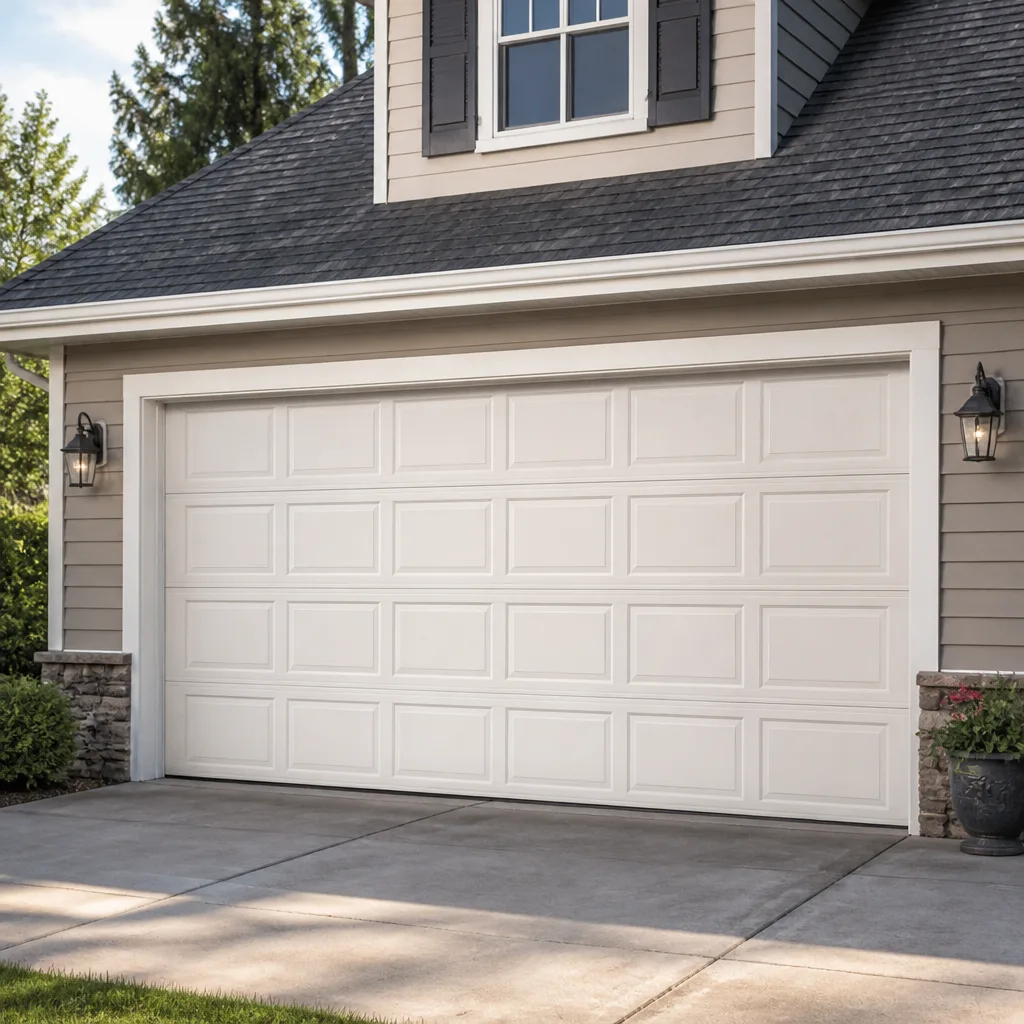 Raised-panel steel
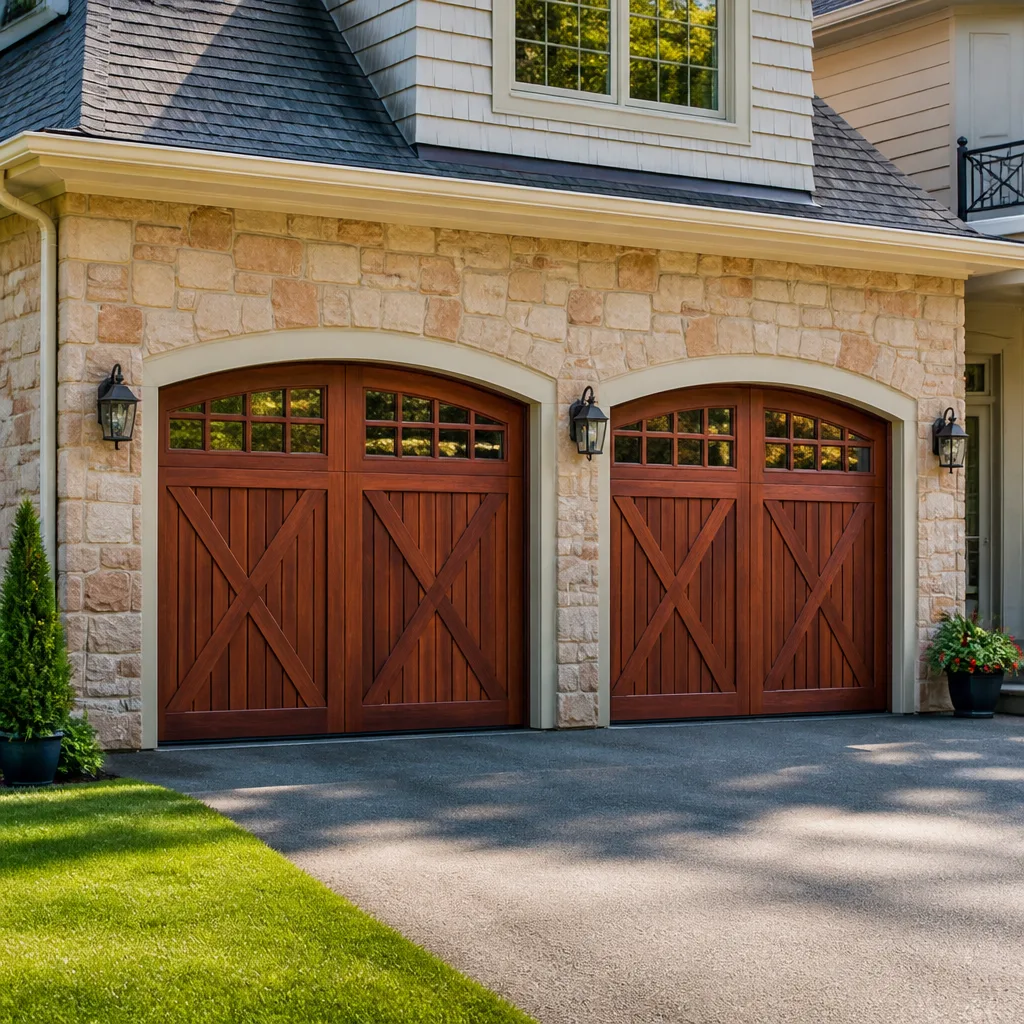 Carriage house
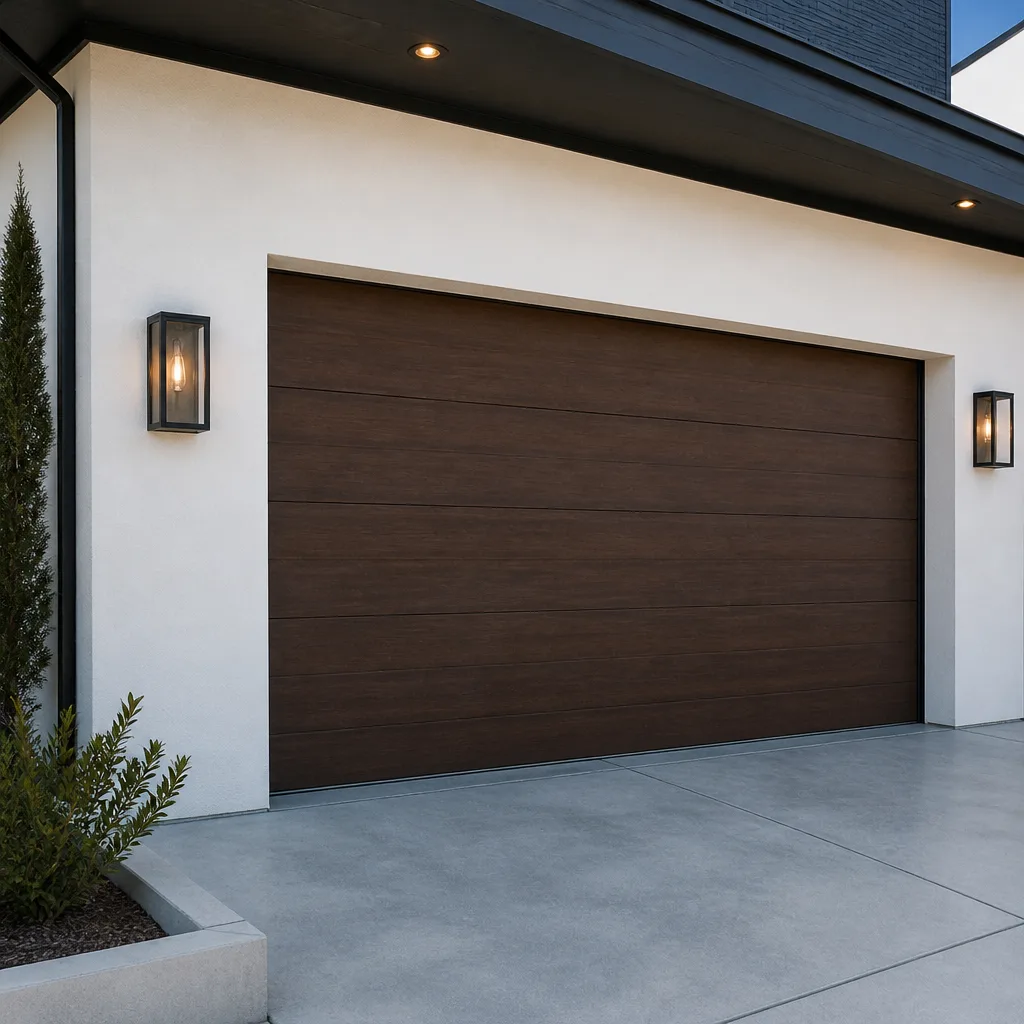 Modern flush
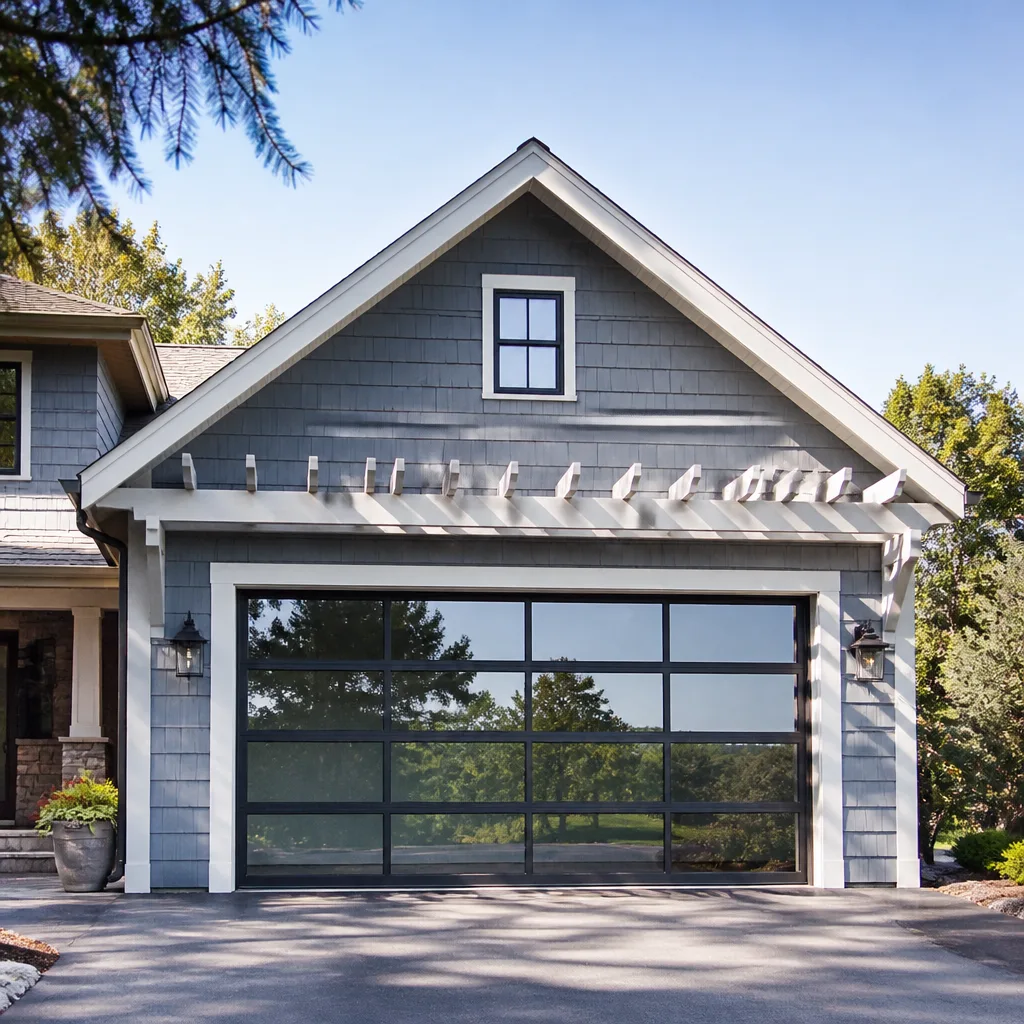 Full-view glass
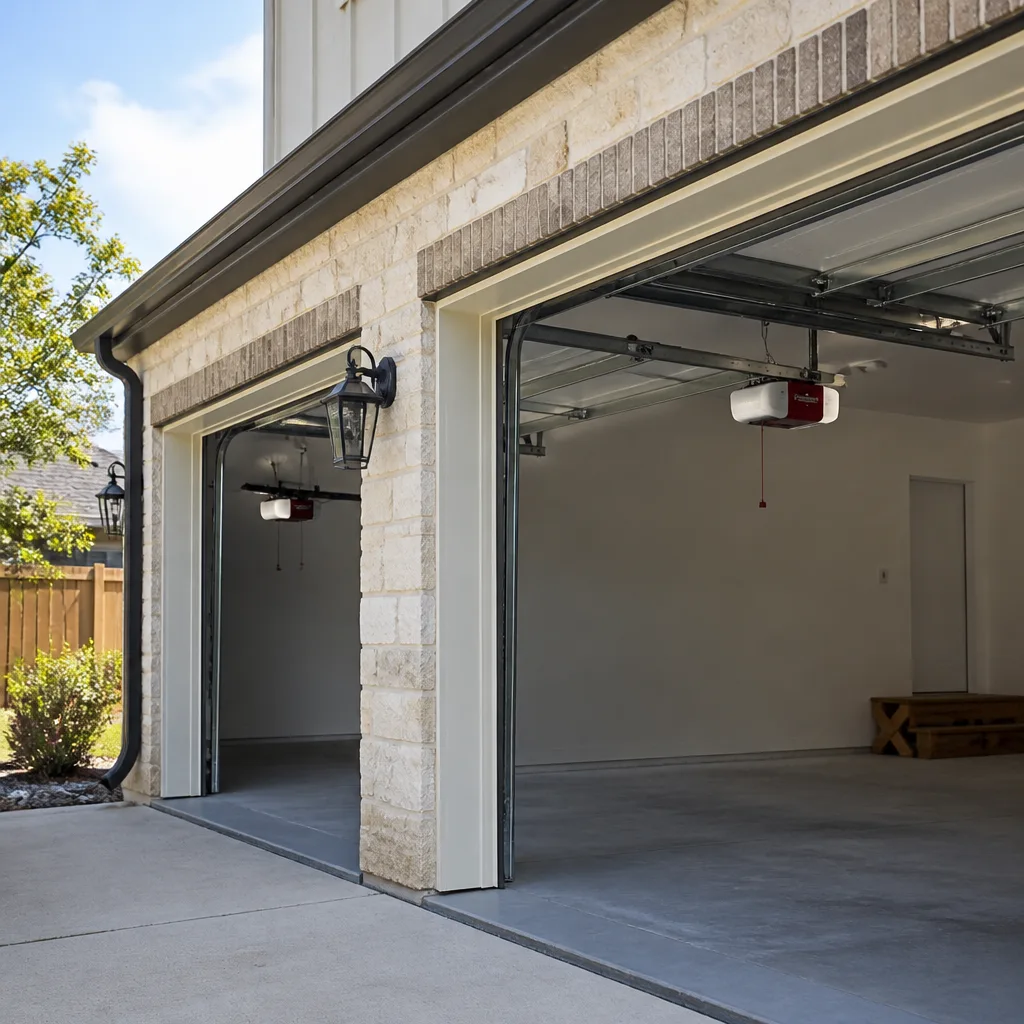 LiftMaster openers
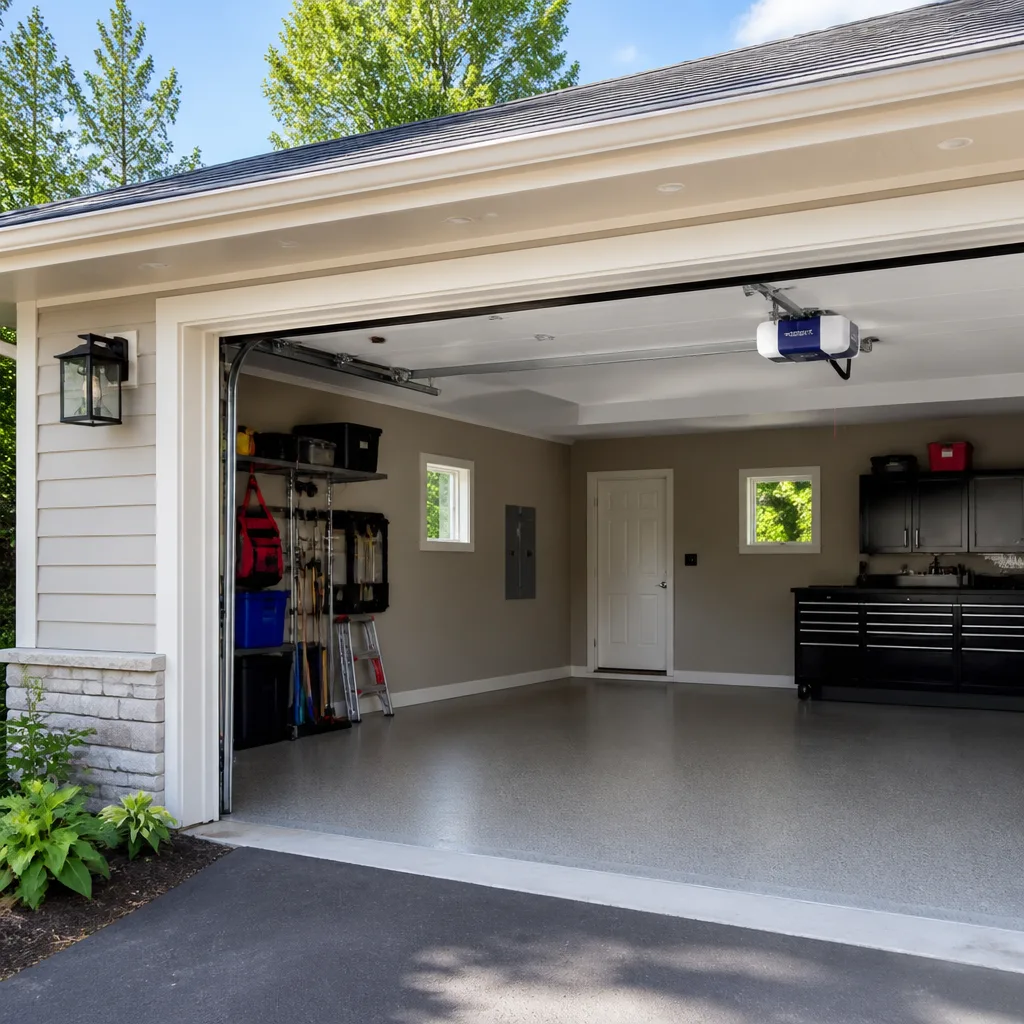 Chamberlain openers
Full 25-point door and opener safety check with every visit - springs, cables, rollers, tracks, and your LiftMaster or Chamberlain opener included
You get a price before we start. It does not change when the pro arrives.
Get your free estimateGarage Door Repair Maintenance Checklist for Southlands Homeowners
Most homeowners assume a garage door that suddenly stops working has an opener problem. In our experience it’s almost never the opener. The part that actually failed is usually a torsion spring or a cable that wore down quietly over months while the owner dutifully sprayed the hinges and called it maintenance. The visible stuff gets all the attention; the hardware carrying the load gets checked last, if at all. This guide fixes that. We’ve sequenced every check by how often it causes a breakdown and how dangerous it is when it does, so Southlands homeowners spend effort where it counts. You’ll learn how to read spring and cable wear, which lubricants survive the Front Range temperature swing, and when a door has moved past maintenance into a repair call.
Quick Answer
A sound maintenance routine for a Southlands garage door means checking the torsion springs and cables first (they cause most emergency calls), then testing the opener’s force and auto-reverse settings, then lubricating moving parts with a cold-rated product, and finally inspecting the weatherseal for UV damage. Do the load-bearing hardware checks monthly and the full checklist twice a year. Anything involving springs or cables is a professional job, not a homeowner task.
Styles & brands we work with
- Raised-panel steel
- Carriage house
- Modern flush
- Full-view glass
- LiftMaster openers
- Chamberlain openers
Table of Contents
- Why the Order of This Checklist Matters
- Torsion Spring Inspection Protocol
- Cable and Drum Wear Indicators for Cold-Climate Doors
- Lubrication Calibrated to Southlands Temperatures
- Weatherseal Inspection Sequence
- Opener Force and Auto-Reverse Testing
- Rollers, Hinges, Tracks, and Fasteners
- A Twice-Yearly Maintenance Schedule for Southlands
Why the Order of This Checklist Matters
Published garage door checklists tend to be organized the way a parts catalog is: springs here, openers there, seals at the bottom. That makes them easy to write and hard to use. A checklist is a diagnostic tool, and a diagnostic tool should be ordered by failure frequency and risk, not by component category. When we open a door for a maintenance visit in Southlands, the sequence is deliberate: load-bearing hardware first, control systems second, sealing and appearance last.
Here’s the reasoning. Springs and cables are under constant tension and carry the entire door’s weight. They fail gradually and give warning signs that most people never see because the warning signs are up on a torsion tube, not at eye level. Openers, on the other hand, are the most durable part of the system and the most over-blamed. A door that reverses halfway up is usually telling you a spring has lost tension or a roller is binding, not that the motor is dying. Test the opener first and you risk misdiagnosing the whole job.
Start with a simple pass/fail observation before you touch anything:
- Stand inside the garage with the door closed. Look along the full width of the door at the top, middle, and bottom.
- Note any gap that isn’t even across the width, any sag in the middle, and any daylight showing through the bottom seal.
- Listen. With the door closed (do not cycle it yet), press your weight gently against the middle panel and let go. A soft rattle means loose hardware; a sharp creak usually points at dry hinges or a binding roller.
- Then move to the spring and cable inspection below before running any opener test.
This initial walkaround takes two minutes and tells you which sections of this guide deserve your full attention. Southlands doors face a wide annual temperature swing, and that swing is what stresses the load-bearing parts most. If you’re already seeing a visual fault, skip ahead to garage door repair Southlands rather than working through the checklist in order.
Torsion Spring Inspection Protocol
Torsion springs are the coiled steel above your door that counterbalance its weight. When one breaks, it usually snaps loudly, the door drops or becomes dead weight, and the opener strains against a load it was never built to lift. A snap is the obvious failure. The dangerous failure is the one that happens slowly, which is why the inspection protocol below goes well beyond “look for a broken spring.” These checks are eyes-only. Do not put your hands on a spring, do not try to adjust the winding, and do not touch the torsion tube. Springs stay under heavy tension even when the door is closed.
Here’s what to look for, in order of how quickly each sign turns into a failure:
- Coil gaps. A healthy torsion spring is a tight, even spiral. Open the gap between coils slightly with a flashlight beam and look for uneven spacing, especially near either end. Gaps that open up mean the spring is stretching past its working range and losing lift capacity. A spring that lifts the door with obvious effort is already telling you it’s tired.
- Rust pitting and surface staining. Front Range winters bring freeze-thaw cycles and the grit that comes with them. Rust pits on a spring act like a notch on a glass cutter: they concentrate stress at that point. Any visible pitting, orange staining, or flaking on the wire is a sign the spring’s service life is running down.
- Fresh vs. worn color coding. Springs are painted to identify their wire gauge and lift rating. Faded or chipped paint is normal wear; a mismatched or repainted spring may mean the wrong part was installed at some point, which throws off balance.
- Door balance test. With the door closed, pull the emergency release to disengage the opener. Lift the door by hand to about waist height and let go. A properly balanced door stays put or drifts slightly. If it falls, the springs have lost tension.
- Loud pop on cycling. A single sharp report when the door opens or closes is the classic snap. Stop using the door immediately and call for garage door repair rather than trying to counterbalance it yourself.
Springs usually come as a matched pair, and they’re replaced together because they’ve shared the same cycles. That’s important for pricing expectations: a pair costs roughly double a single spring. We treat spring work as a core service rather than an add-on, because it’s the highest-risk component on the door and deserves a trained eye.
Cable and Drum Wear Indicators for Cold-Climate Doors
The lift cables run from the bottom corners of the door, around the drums at each end of the torsion tube, and anchor at the shaft. They share the load with the springs. When a cable frays and lets go, the door can drop on one side, jam the tracks, or come down unevenly. Cold-climate cable wear doesn’t look like the wear you’d see in a mild market, and that’s the part most guides get wrong.
In a Southlands winter, cables go through repeated freeze-thaw cycles. Moisture wicks between the strands, freezes, and expands. Over a season or two, the expansion works the strands apart from the inside. The result is a cable that looks fine from three feet away but shows a characteristic “bird-caging” pattern when you look closely: individual strands separating and bowing outward. That’s your early warning, and it’s worth checking for it on the cables specifically, since it doesn’t announce itself with a sound.
Here’s what to look for at the cable and drum points:
- Fraying near the drum. The cable winds onto a grooved drum. Wear concentrates where the cable leaves the drum when the door is at rest. Broken strands at that spot are the most common failure point.
- Bird-caging along the run. Anywhere along the cable, look for strands that have separated and no longer lie flat. That’s the cold-weather signature described above.
- Drum scoring. A drum with a worn groove, a burr, or a chunk missing from a flange will chew through a fresh cable quickly. Look at both drums, not just the side that’s giving you trouble.
- Cable slack on one side. With the door closed, both cables should have roughly the same tension. Noticeable slack on one side means the drum has slipped or a cable is stretching toward failure.
- Rust and grit at the bottom corners. Road grit and melting snow collect at the bottom brackets. It doesn’t destroy a cable directly, but it accelerates the wear that does.
A door that cycles a lot, like one on a small-business property or a busy family home, will wear cables faster than a door that opens twice a day. If you’re seeing bird-caging or broken strands, that’s not a check-off-and-carry-on item. It’s a repair. Cables are under the same tension as springs and belong in the hands of a trained technician, and we carry the parts to replace them without a wait on third-party orders. If you’re unsure whether what you see is wear or a hazard, a garage door opener repair visit will often catch cable and drum issues at the same time, since we check the whole system whenever we’re on the opener.
Lubrication Calibrated to Southlands Temperatures
The most common lubrication mistake we see is a homeowner using whatever’s already on the shelf: a tube of lithium grease, a can of WD-40, or a heavy oil. In a mild climate that’s a slow-burning problem. In Southlands it’s a seasonal problem, because the Front Range temperature swing takes the wrong products straight from “barely adequate” to “actively harmful.”
Lithium grease is a good example. It performs fine in warm weather, but in the cold months it stiffens and grabs instead of flowing. A stiffened grease turns into a drag on every hinge and roller it touches, and that drag shows up as a door that feels heavy, an opener that seems underpowered, or a door that reverses before it closes. If your opener is struggling in cold weather and the springs check out, look at what you lubricated with last fall.
What to use instead: a cold-rated, synthetic garage door lubricant, or a silicone-based spray. Both stay fluid down to temperatures that would set lithium grease up. They’re also clean enough to use on the torsion springs, tracks, and hinges without attracting grit. A quick reference for what to use on what:
- Hinges, rollers, and torsion springs: cold-rated synthetic or silicone-based garage door lubricant.
- Weatherseal (rubber and vinyl): a light coat of silicone spray to keep it supple. Never use oil-based products on the seal; they break the rubber down.
- Tracks: wipe clean, then a very light wipe of silicone spray. Do not grease the tracks; grease collects dirt and turns the track into a grinding surface.
- Roller bearings and stems: a shot of the same cold-rated lube, not heavy axle grease.
Frequency matters as much as the product. We suggest a full lubrication pass twice a year: once in late fall, ahead of the deep cold, and once in spring, after the grit of winter has been working its way into the moving parts. Heavy-use doors, or doors on commercial properties in the Southlands area, benefit from a third pass mid-winter. Lubrication is one of the few maintenance tasks a homeowner can do completely safely, so it’s worth doing well.
Weatherseal Inspection Sequence
The weatherseal is the rubber strip along the bottom of the door, plus the threshold and any side and top trim. It looks like a cosmetic detail. It isn’t. A sealed door keeps out wind, water, and debris, and it keeps the cold out of the space the door protects. A failing seal lets all three in, and it does it quietly. On the Front Range, UV exposure and wind-driven debris do the damage, and the sequence below accounts for both.
Inspect the seal in this order, because each step tells you what to check next:
- Bottom seal from inside, door closed. Look along the full length where the seal meets the floor. Daylight showing through is a direct air and water gap. Uneven daylight means the seal is compressed at the middle or the door is out of square.
- Bottom seal from outside, door closed. Push gently on the seal with one finger. A supple seal springs back; a hardened one stays compressed. Hard seals won’t re-seal after the door closes, and they crack over a winter.
- UV brittleness check. Look for fine cracks and a chalky, faded surface on the rubber. That’s UV damage, and it’s what turns a flexible seal into a brittle strip that cracks off in pieces.
- Wind-driven debris. Check the top and side seals for grit trapped behind them, and check the bottom seal for pebbles and debris that get caught and dimple the rubber against the floor.
- Threshold and stops. Look at the floor plate the bottom seal sits on. A cracked threshold can’t make a seal no matter how good the rubber is.
Weatherseal is one of the easier parts to replace, and it’s a worthwhile check to fold into the rest of your maintenance routine. If a seal has gone brittle, it will fail faster than you’d expect through a Front Range winter, and the gap it leaves lets grit into the tracks. Replace or repair before the first hard freeze, not after. We keep weatherseal stock on hand, so it’s a straightforward fix if you’d rather not do it yourself.
Opener Force and Auto-Reverse Testing
The opener’s safety features are its force limit and its auto-reverse mechanism. Both are there to stop the door when it meets an obstruction. Checking that they work is the most important control-system test on this list, and most published instructions say “check that it reverses” without telling you how to know it passed. Here’s a specific test with a pass/fail standard.
Always run this test with the door closed and the garage doorway clear of people and pets. Then follow these steps:
- Balance test first. With the door closed, pull the emergency release to disengage the opener. Lift the door by hand to waist height. If it won’t stay put or falls freely, stop and get the springs checked before testing the opener. A door with bad springs can’t give you a reliable force reading.
- Contact test (auto-reverse on obstruction). Re-engage the opener, close the door, and place a firm object like a 2×4 on edge in the middle of the doorway. Run the door down. It should stop and reverse on contact, within the normal travel of the protective edge. If it keeps pushing or reverses sluggishly, the force limit is set too high.
- Pressure test (light resistance). With the door on the way down, apply moderate hand pressure to the bottom edge. It should reverse. If you can push it down without reversing, the force setting is too high and should be adjusted down.
- Photo-eye test. Close the door and break the beam of the safety sensors at each side of the doorway. The door should stop and reverse. Then test each sensor individually by blocking it with a hand. If one side fails, you have a sensor or wiring issue, not a force issue.
The pass/fail standard is simple: the door reverses on light resistance, reverses on obstruction, and reverses on either photo-eye being blocked. If any single test fails, treat the opener as unsafe until it’s repaired. Force settings can be adjusted on most openers, but the fix is often a worn roller or a dry hinge that’s dragging, not a setting change.
We work on virtually every major brand, including LiftMaster, Chamberlain, and Craftsman, so a diagnostic call doesn’t stall on brand guesswork. If the opener itself is failing after testing, we can advise on garage door installation for a replacement unit that fits your door’s weight and your garage’s wiring. For a repair, the standard call covers opener repair and the hardware test in one visit.
Rollers, Hinges, Tracks, and Fasteners
The hardware layer is where small problems become big ones if they’re left alone. Rollers, hinges, tracks, and fasteners are all visible, which makes this the easiest section of the checklist for a homeowner to do fully. It’s also the section where a little attention prevents the loud, expensive repairs that fill our emergency calls.
Run through the list with the door closed, then again with it partway open:
- Rollers. Nylon rollers should spin freely and look round. Steel rollers are more durable but noisier. Scoring, flat spots, or a wobble in the roller means it’s dragging on the track and needs replacing. Look at all the rollers, not just the ones you can reach easily.
- Hinges. Any hinge that’s loose, bent, or stiff is a drag on the opener and a source of noise. A hinge that’s been loose long enough can wallow out the track, which is a much more expensive fix than tightening a bolt. Grit and rust at the hinge pins is common on Southlands doors after winter.
- Tracks. Run a finger along the inside edge of each track (door closed, opener off). A burr means the door is misaligned and rubbing. Dents in the track are usually the result of a door that hit something. Never force a bent track straight; the geometry either works or it doesn’t.
- Fasteners. Every track bracket and hinge screw should be snug. Looseness at the track brackets lets the door drift out of alignment, which is the cause of most rubbing and binding complaints we see.
- Panel condition. Look for a panel that’s cracked, dented, or bowing. A bent panel can still work mechanically while slowly dragging the door out of line.
Rollers, hinges, and fasteners are straightforward parts to source, and we stock them directly. If you need a specific part for a LiftMaster or Raynor door, tell us what you have and we’ll confirm it. Keeping the hardware tight and the rollers spinning is the cheapest insurance against bigger problems.
A Twice-Yearly Maintenance Schedule for Southlands
How often each check should be done depends on how the door is used. Below is the schedule we suggest for most Southlands homeowners, split into what to check monthly, what to do twice a year, and what to leave to a technician. The Southlands climate makes the spring and fall passes especially worthwhile, since they land just before and just after the coldest stretch.
Monthly (ten minutes, door closed):
- Look at the torsion springs for coil gaps and rust pitting. Don’t touch them.
- Look at the cables along their run and at the drums for bird-caging and broken strands.
- Test the safety reverse and both photo-eyes once a month. It’s the fastest check on the list and the most important.
Twice a year (late fall and spring):
- Lubricate hinges, rollers, and torsion springs with cold-rated synthetic lube.
- Check the weatherseal for daylight gaps and UV brittleness.
- Tighten track bracket and hinge fasteners.
- Check rollers for flat spots and scoring.
- Test door balance with the opener disengaged.
Leave to a technician: spring adjustment or replacement, cable replacement, drum work, force-limit adjustment beyond a factory reset, and any door that needs rebalancing. If a monthly check turns up something on the “leave to a technician” list, phone it in for a free estimate rather than working through it yourself. Our technicians have up to 8 years of experience, and the whole point of a specialist coming out is to check for wear patterns you’d miss at eye level.
Common Mistakes to Avoid
- Lubricating with lithium grease. It goes stiff in the cold and turns into a drag that makes a sound door look like it has a failing opener. Use a cold-rated synthetic or silicone product instead, especially if the door has to work through a Front Range winter.
- Assuming the opener is the problem. Most “opener failures” on a Southlands door trace back to a spring that’s lost tension or a roller that’s binding. Test balance and hardware before you replace anything.
- Ignoring the cables because they aren’t broken. A frayed or bird-caged cable is a cable that’s ready to let go. It gives you warning; most people just don’t look.
- Greasing the tracks. Tracks collect grit, and grease turns that grit into a grinding paste. Clean them and wipe them with silicone spray, nothing more.
- Skipping the auto-reverse test. A door that pushes instead of reverses is a hazard. Run the test monthly, and treat a failure as a stop-and-repair item.
- Forcing a bent track straight by hand. Tracks have a precise geometry, and straightening them by eye usually leaves the door out of line. It’s a replacement, not a bend.
- Adjusting a torsion spring yourself. Springs are under heavy tension and can cause serious injury if they slip. Leave winding and unwinding to a trained technician. It’s one of the few jobs where a mistake can hurt you before you realize it happened.
See the difference
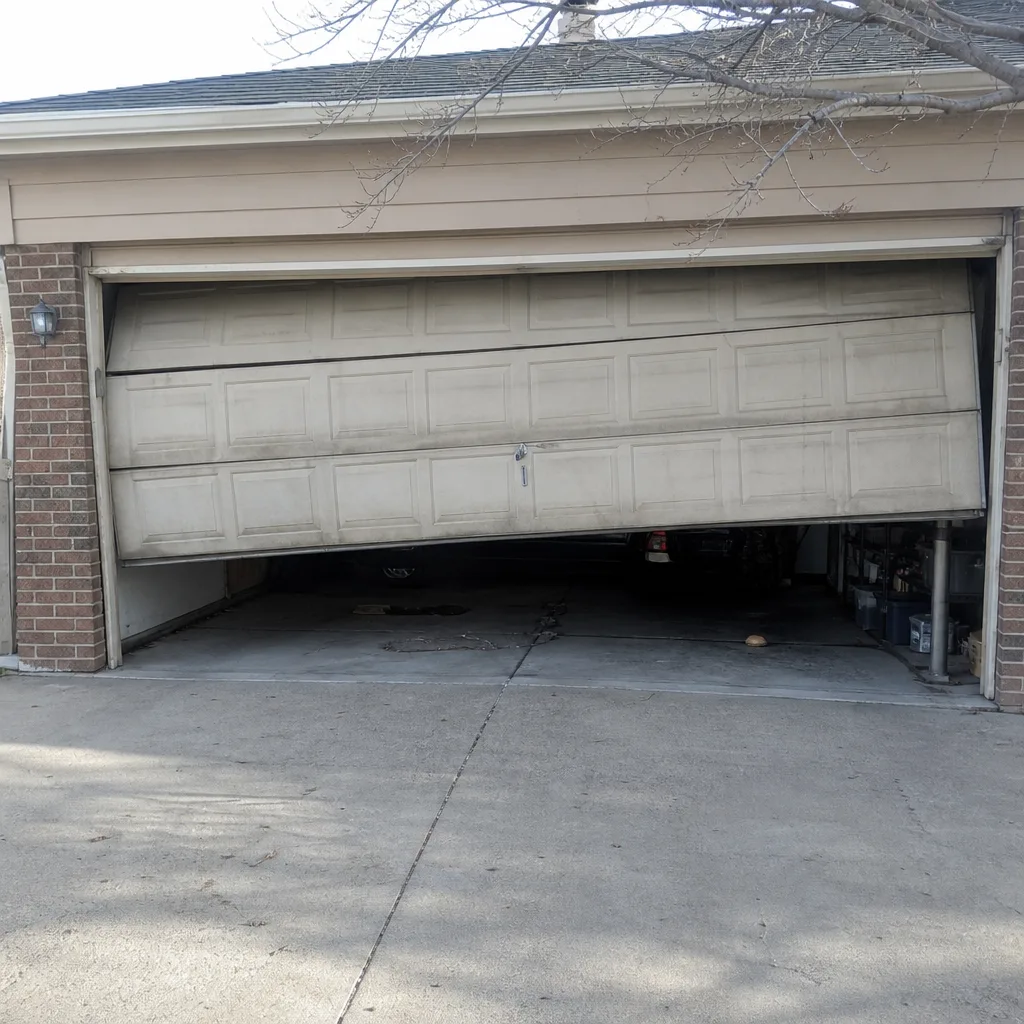 Before
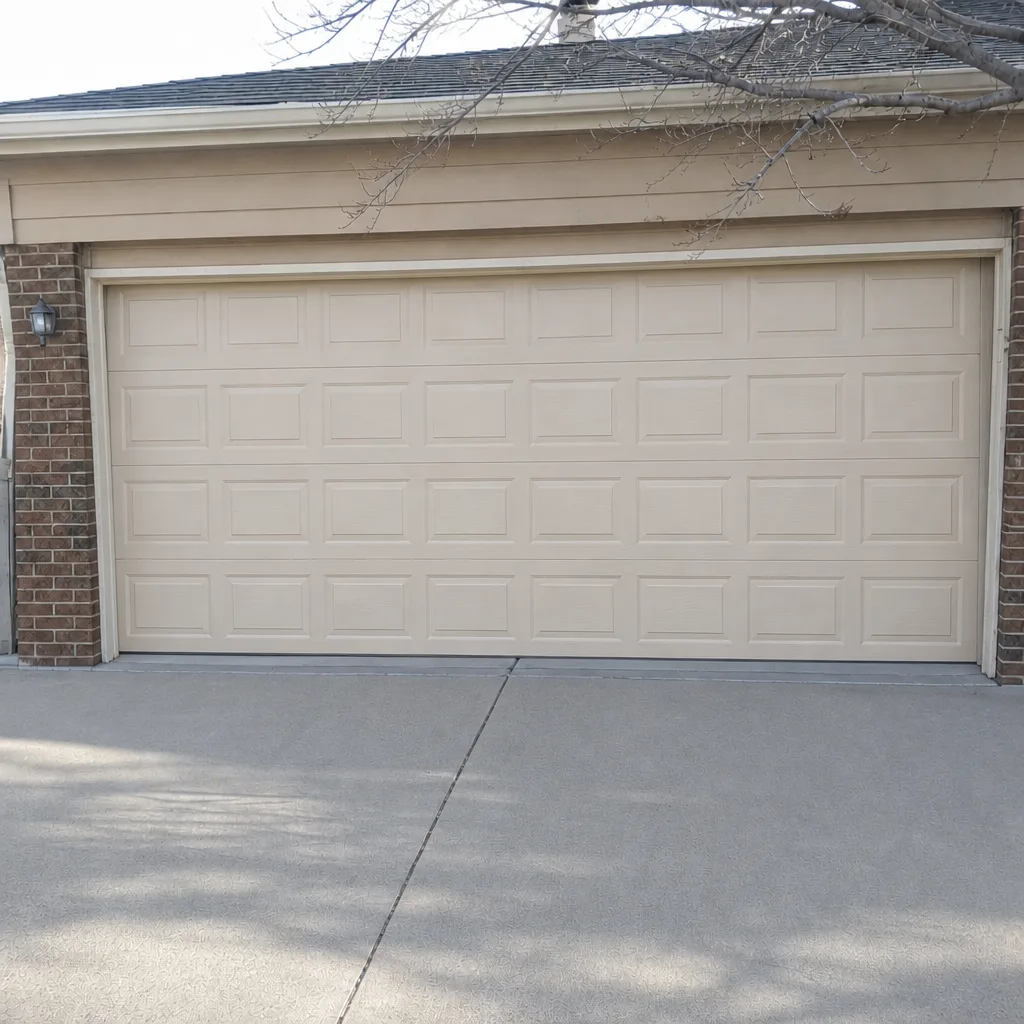 After
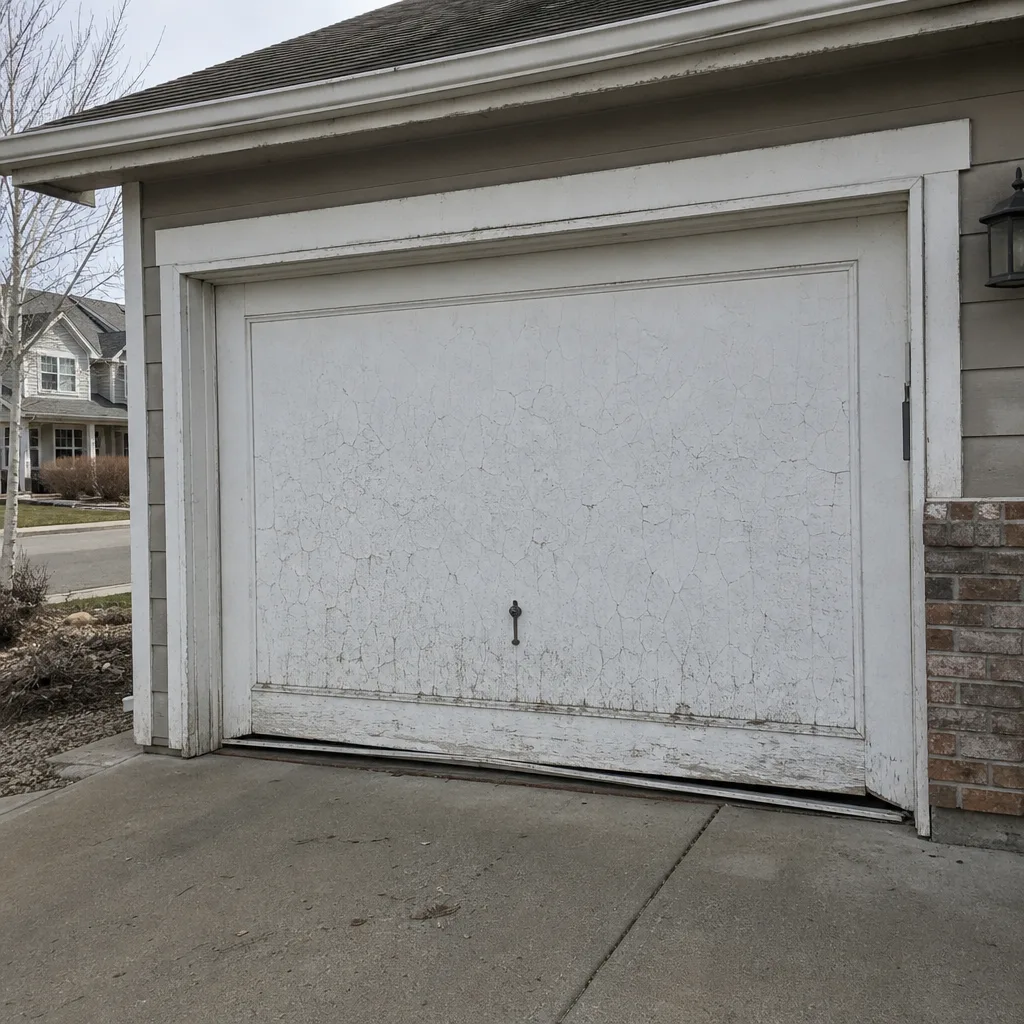 Before
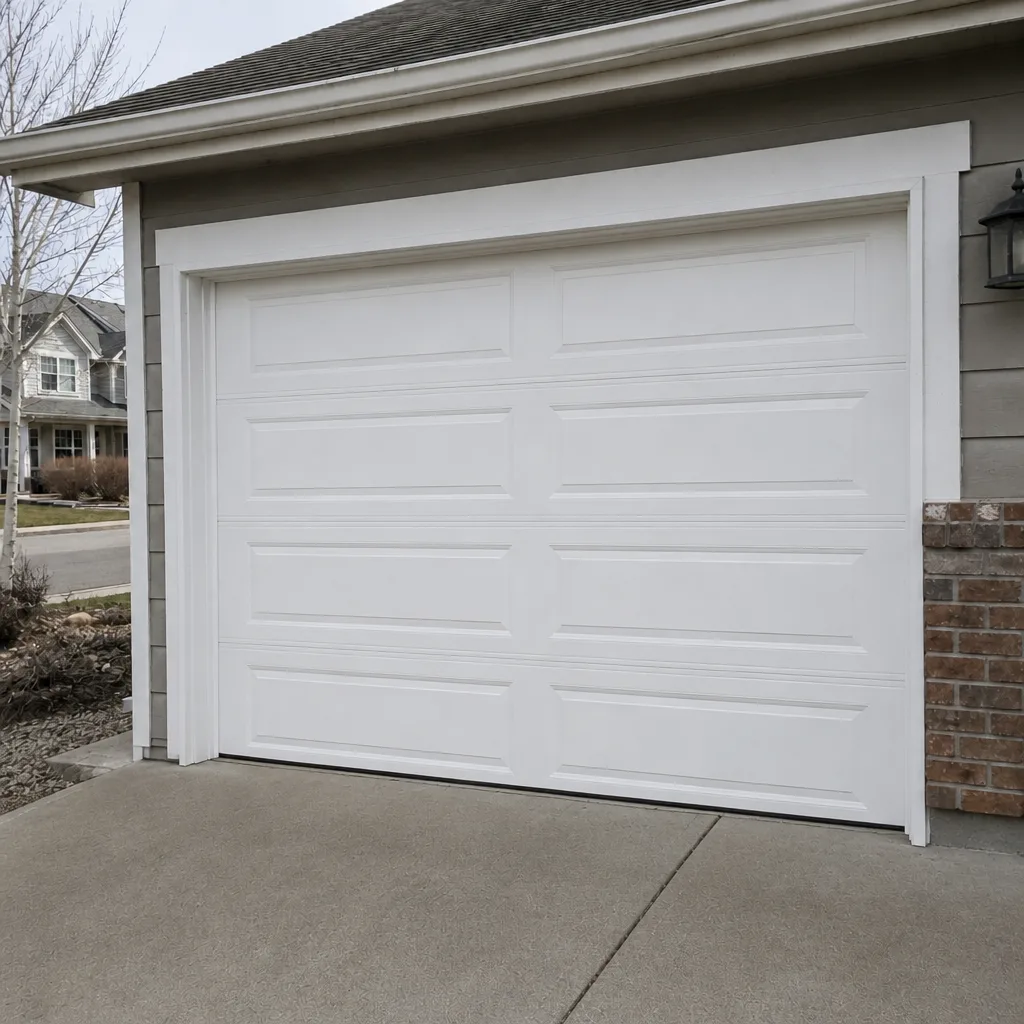 After
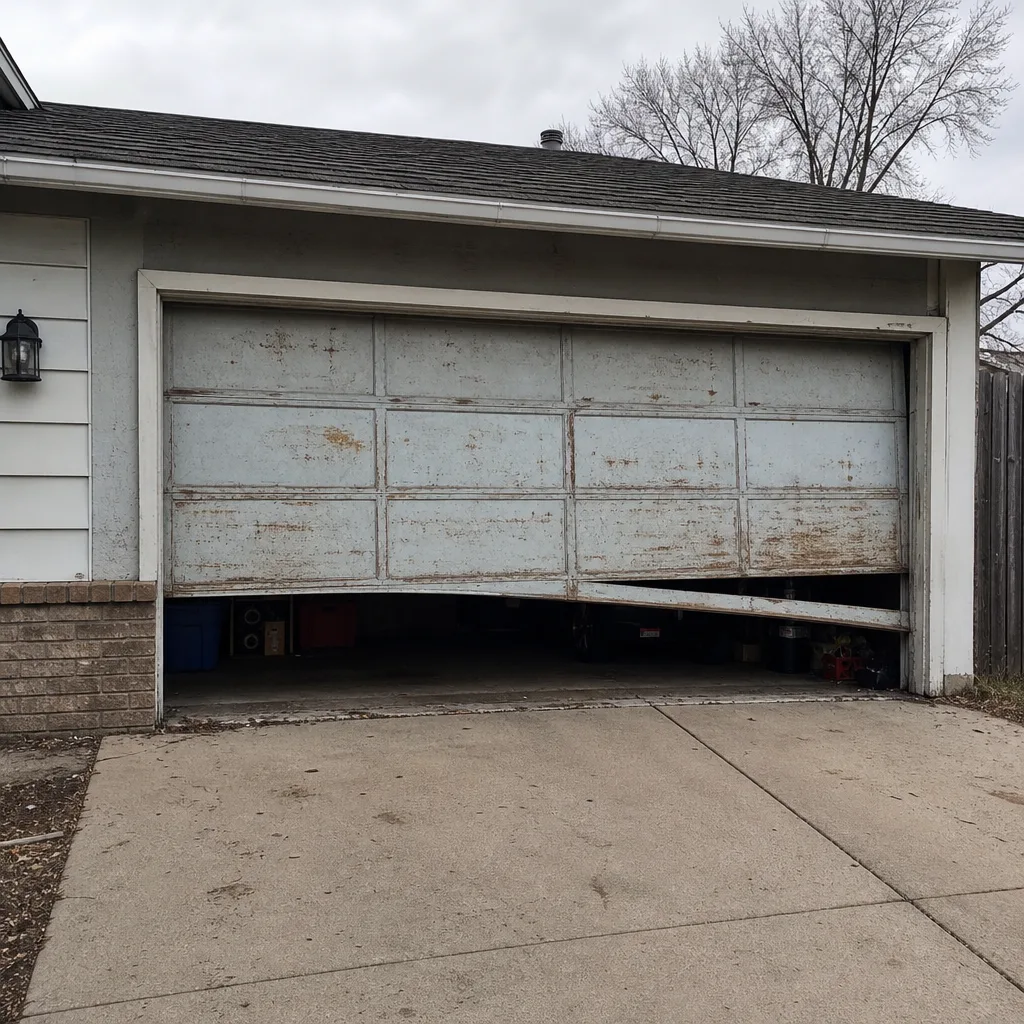 Before
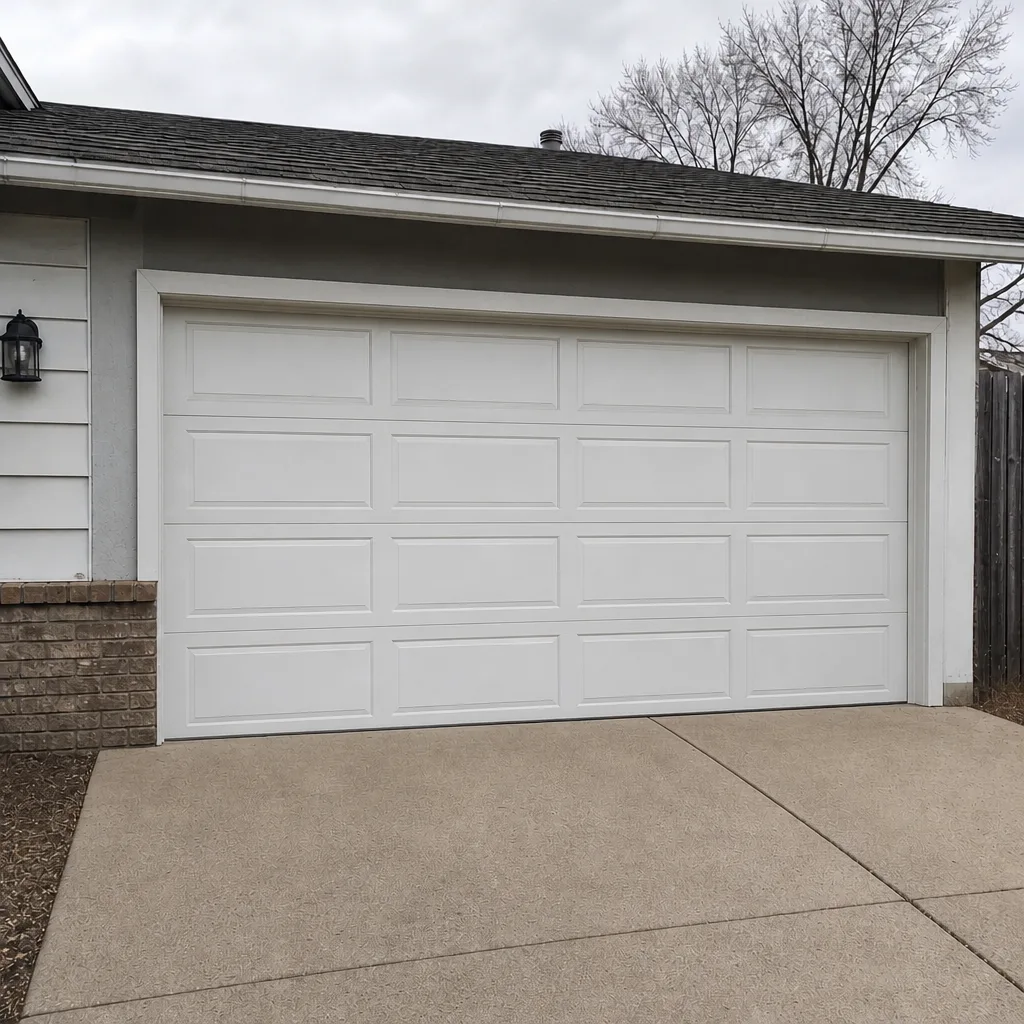 After
When to Call a Professional
Bring in a professional for anything on the load-bearing side of the door. That’s springs, cables, drums, and torsion tubes, plus any door that’s out of balance or has a bent track. Also call if the auto-reverse or photo-eye test fails and a simple adjustment doesn’t fix it, if the opener runs but the door doesn’t move cleanly, or if a panel is cracked or missing. A door that sags at one corner of a Southlands garage is usually telling you the springs are tired, and that’s not a wait-and-see item. Garage Door Repair Southlands offers free estimates in Southlands; call (844) 569-7232. We answer 24/7. Fast dispatch from 7am to 7pm, Sunday through Friday, and the price is quoted and agreed before any work starts.
Frequently Asked Questions
Twice a year for a full service, with a monthly eyes-only check of the springs, cables, and safety reverse. The twice-yearly pass should land in late fall before the deep cold and in spring after winter grit has worked into the moving parts. Heavy-use doors, including those on commercial properties in the Southlands area, benefit from a mid-winter lubrication pass as well. Our technicians have up to 8 years of experience and can tell you exactly what a specific door needs at a free estimate.
Uneven coil gaps and rust pitting along the wire are the earliest visible signs. A snapped spring is the obvious failure; the one to watch for is the slow loss of tension that appears as gaps between coils. Any door that feels heavy when you lift it by hand with the opener disengaged is telling you the springs have lost lift, whether the coil is visibly broken or not. Don’t put your hands on a spring to check it, since it stays under tension even when the door is closed.
You can do the eyes-only checks, lubrication, fastener tightening, and safety reverse testing yourself. You should not touch the springs, cables, drums, or torsion tube, and you shouldn’t adjust force limits beyond a factory reset. Springs and cables are under heavy tension and can cause serious injury if they slip. If anything on the load-bearing side turns up a fault, call for a professional check. Call (844) 569-7232 for an exact quote on any repair, and the estimate is free.
Cold weather makes several things worse at once. Lithium grease stiffens and drags, seals go hard and lose their grip on the floor, and springs can lose a little of their lift as temperatures drop. Start by lubricating with a cold-rated synthetic product and checking the springs and cables for wear. If the door still struggles after that, it’s time for a professional look, since the fix is often a worn roller or a tired spring rather than the opener itself.
A cold-rated synthetic garage door lubricant or a silicone-based spray. Avoid lithium grease, which stiffens in cold weather and turns into a drag on hinges and rollers. Use a light coat of silicone on the weatherseal, and never put oil-based products on the rubber. Apply lube to hinges, rollers, and the torsion springs twice a year, and more often on a door that cycles a lot.
The local professionals we connect you with are licensed and insured as their state requires. We work on virtually every major brand, including LiftMaster, Chamberlain, and Craftsman, so a call doesn’t stall on brand guesswork. The price is quoted and agreed before any work starts, so the written estimate is what you pay. Call (844) 569-7232 for a free estimate.
The Bottom Line
A maintenance checklist works when it’s ordered by what actually fails. Springs and cables carry the load and cause most emergency calls, so check them first with your eyes and leave the wrench work to a professional. Use a cold-rated lubricant that survives Southlands winters, test your auto-reverse and photo-eyes every month, and inspect the weatherseal for the UV damage that Front Range sun does over time. Everything on this list is either a monthly eyes-only check, a twice-yearly pass, or a call to a specialist. Do the first two on a schedule and the third will be a rare visit rather than a scramble. Garage doors are all we do, and we’re here when a check turns up something that needs a trained eye.
Written by the team at Garage Door Repair Southlands.